kniterate notes 7
This is the seventh in a series of blog posts about the Material Programming Project. We are developing malleable knitting software for the Kniterate, a semi-industrial knitting machine. This post is about working with colour. The first post, on the Knitout project, is available here.
In the past few weeks we’ve been working a lot more with Patchwork, an extremely fun and anarchic piece of malleable version-control software. We’ve been working with Chee and Mimi to think about compelling demos that can demonstrate the capabilities of both softwares. Until now, we’d been very focussed on technical aspects of the editor, and it’s nice to explore more what KnitoutJS can do in terms of ‘fun things to show other people’.
Colourwork in Patchwork
 chee’s crab
One discussion we had about the affordances of Patchwork is the ability to bring lots of different types of files into conversation with one another. One way (though not the only way) to think about knit is as a fairly linear medium, where rows are knit one after another. This lends itself to an interpretation of sequential blocks, which provide an opportunity to combine different programs within the same piece (sort-of demonstrated by the waste generation script).
 luca cardelli’s crabs
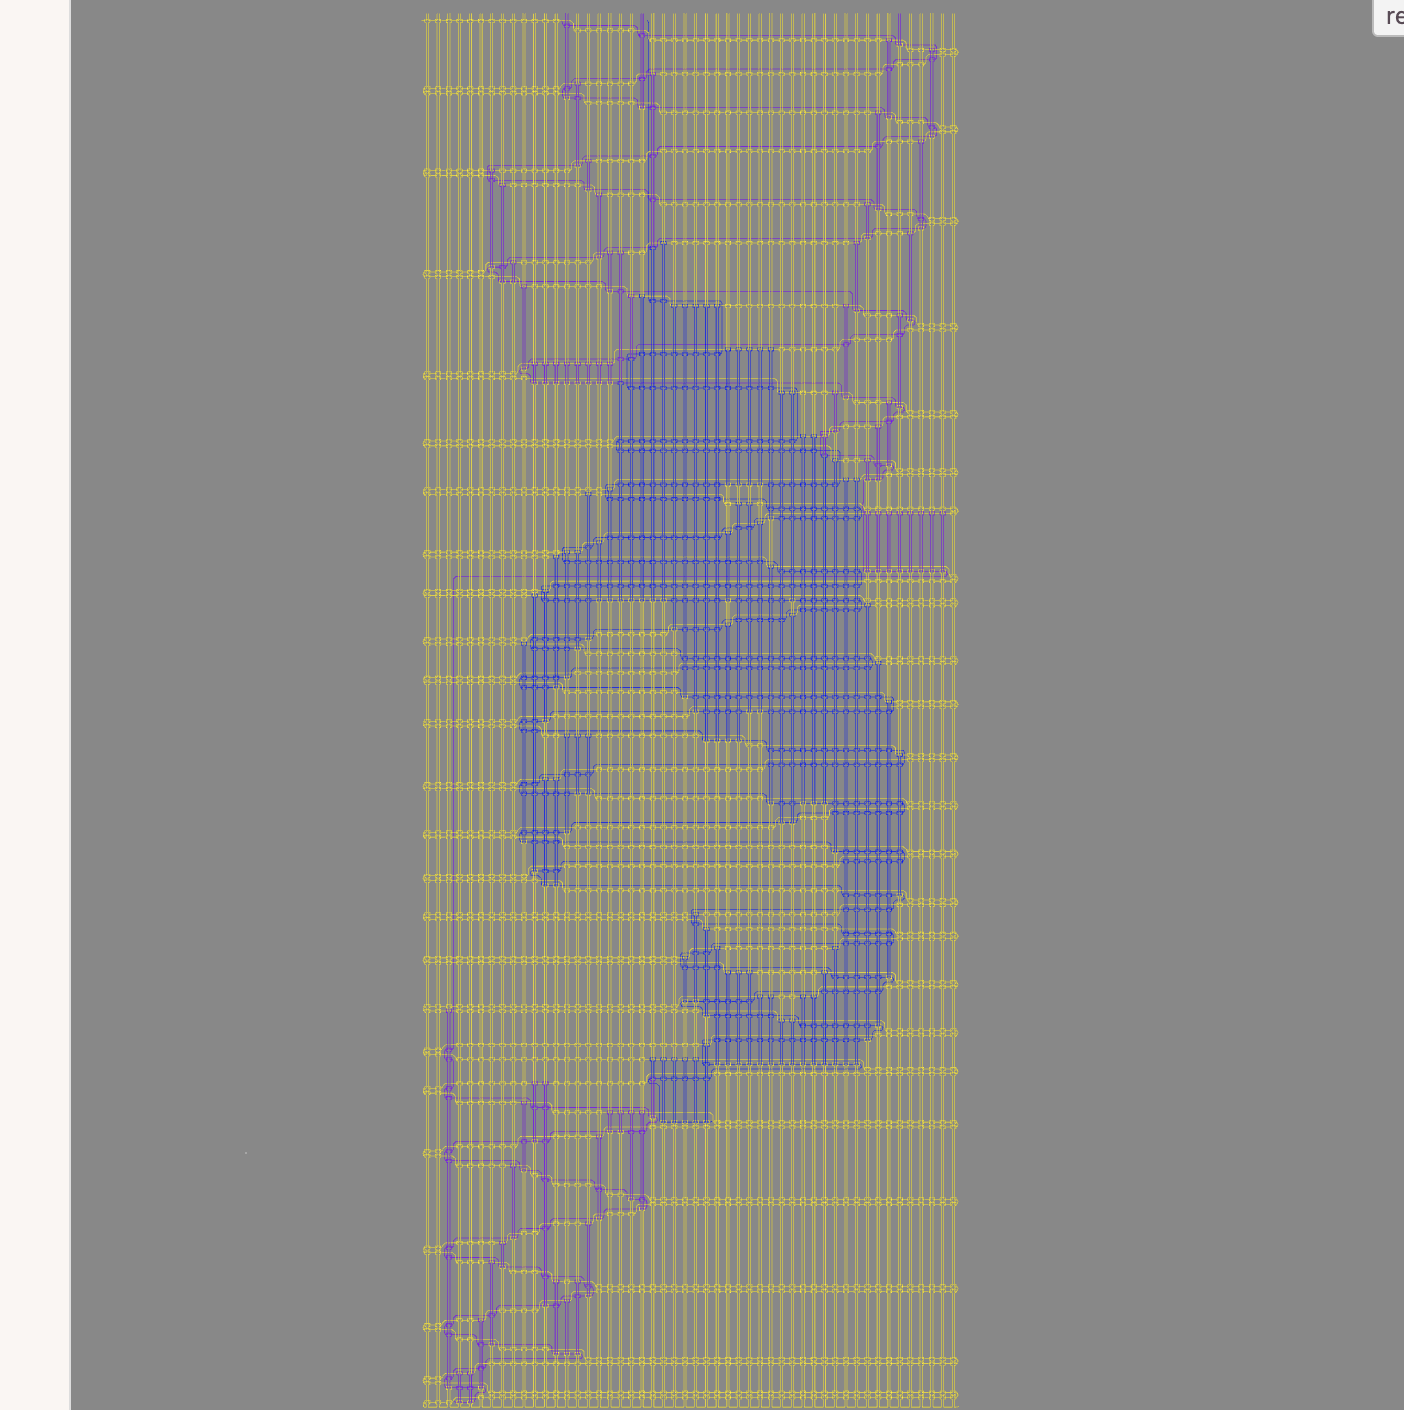
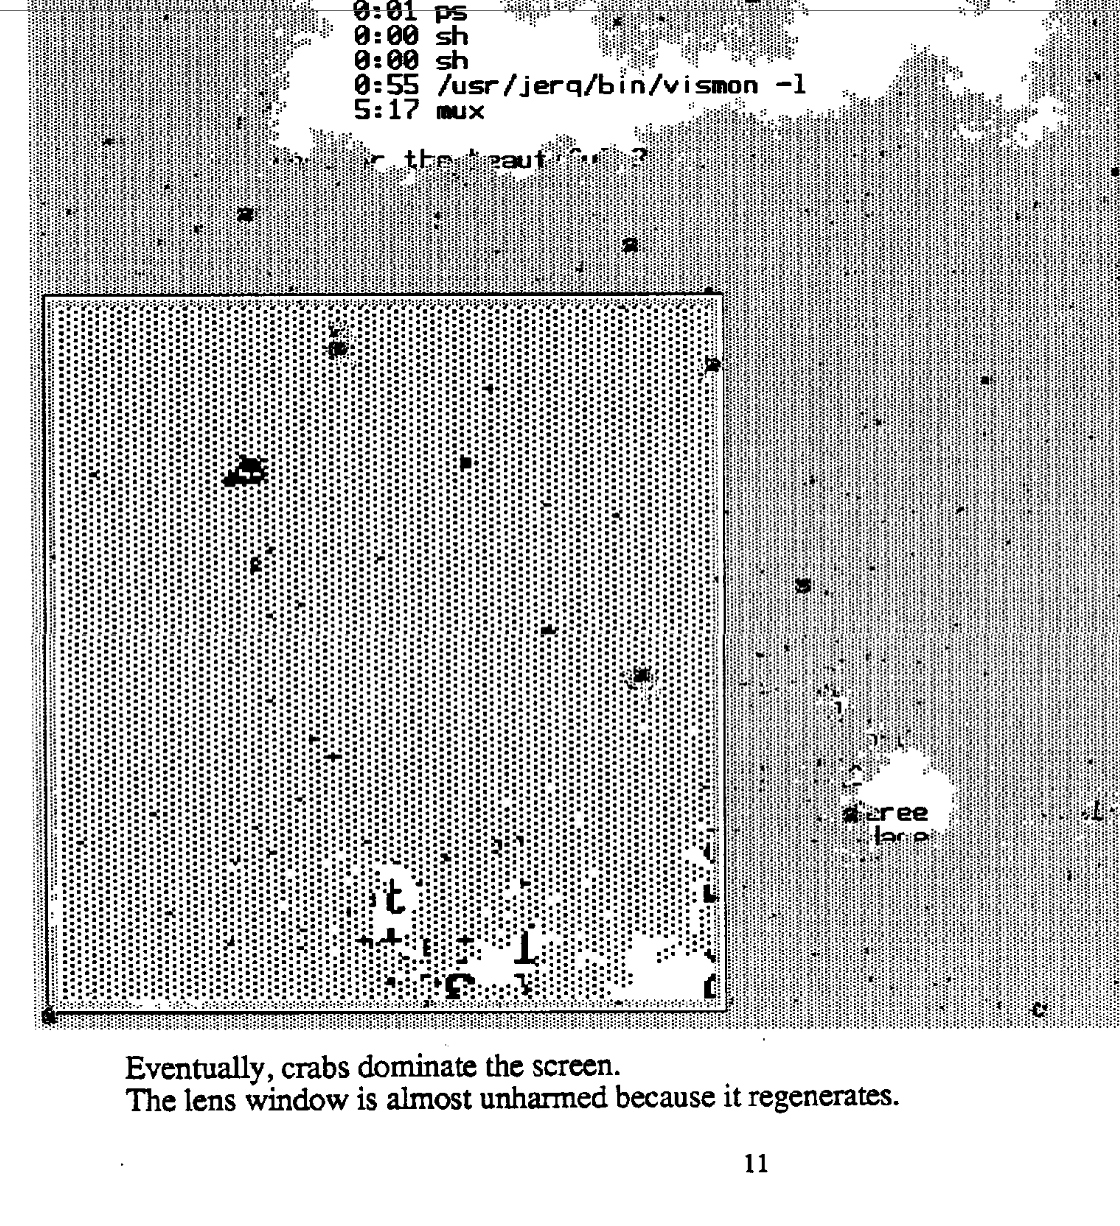
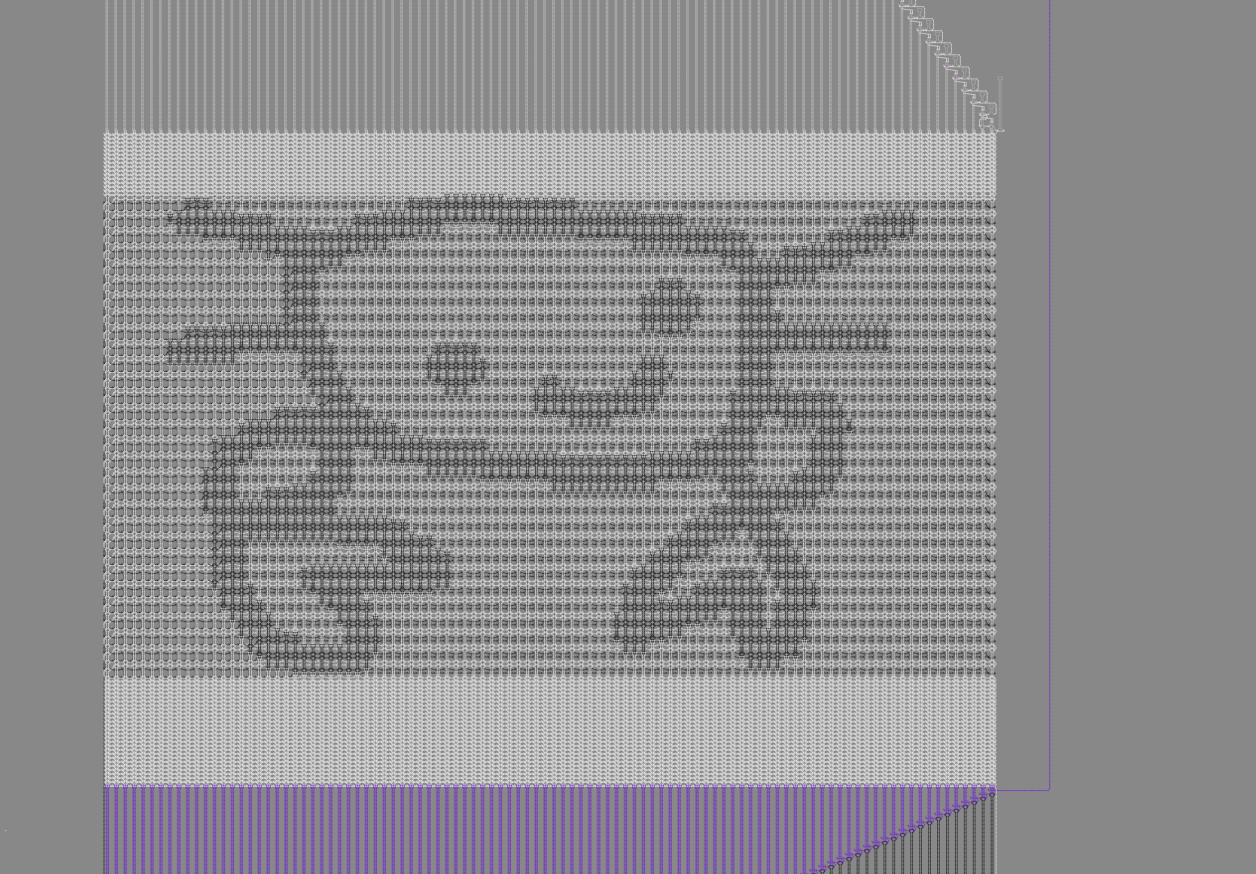
Mimi brought in a design for a scarf decorated with crabs as an example, which became a kind of mascot for the project. This reminded me of the Luca Cardelli paper Crabs, another Bell Labs classic, where a script slowly litters a blitted terminal interface with tiny pixellated ‘crabs’. As I’m writing this, I’m realising the ‘bitmap terrors’ lend themselves to knitting patterns – maybe a nice demo!
 my crab
After Chee made a proof-of-concept script that does the translation, I revisited Gabrielle Ohlson’s knitout-image-processing repository, which has a series of scripts for colour processing designs. Having learned a lot more about both knit and about the knitout format, it was great working with this code: it’s well-documented, and contains loads of different example features that are super useful. As a crab follow-up, I made a jacquard crab file using the tool.
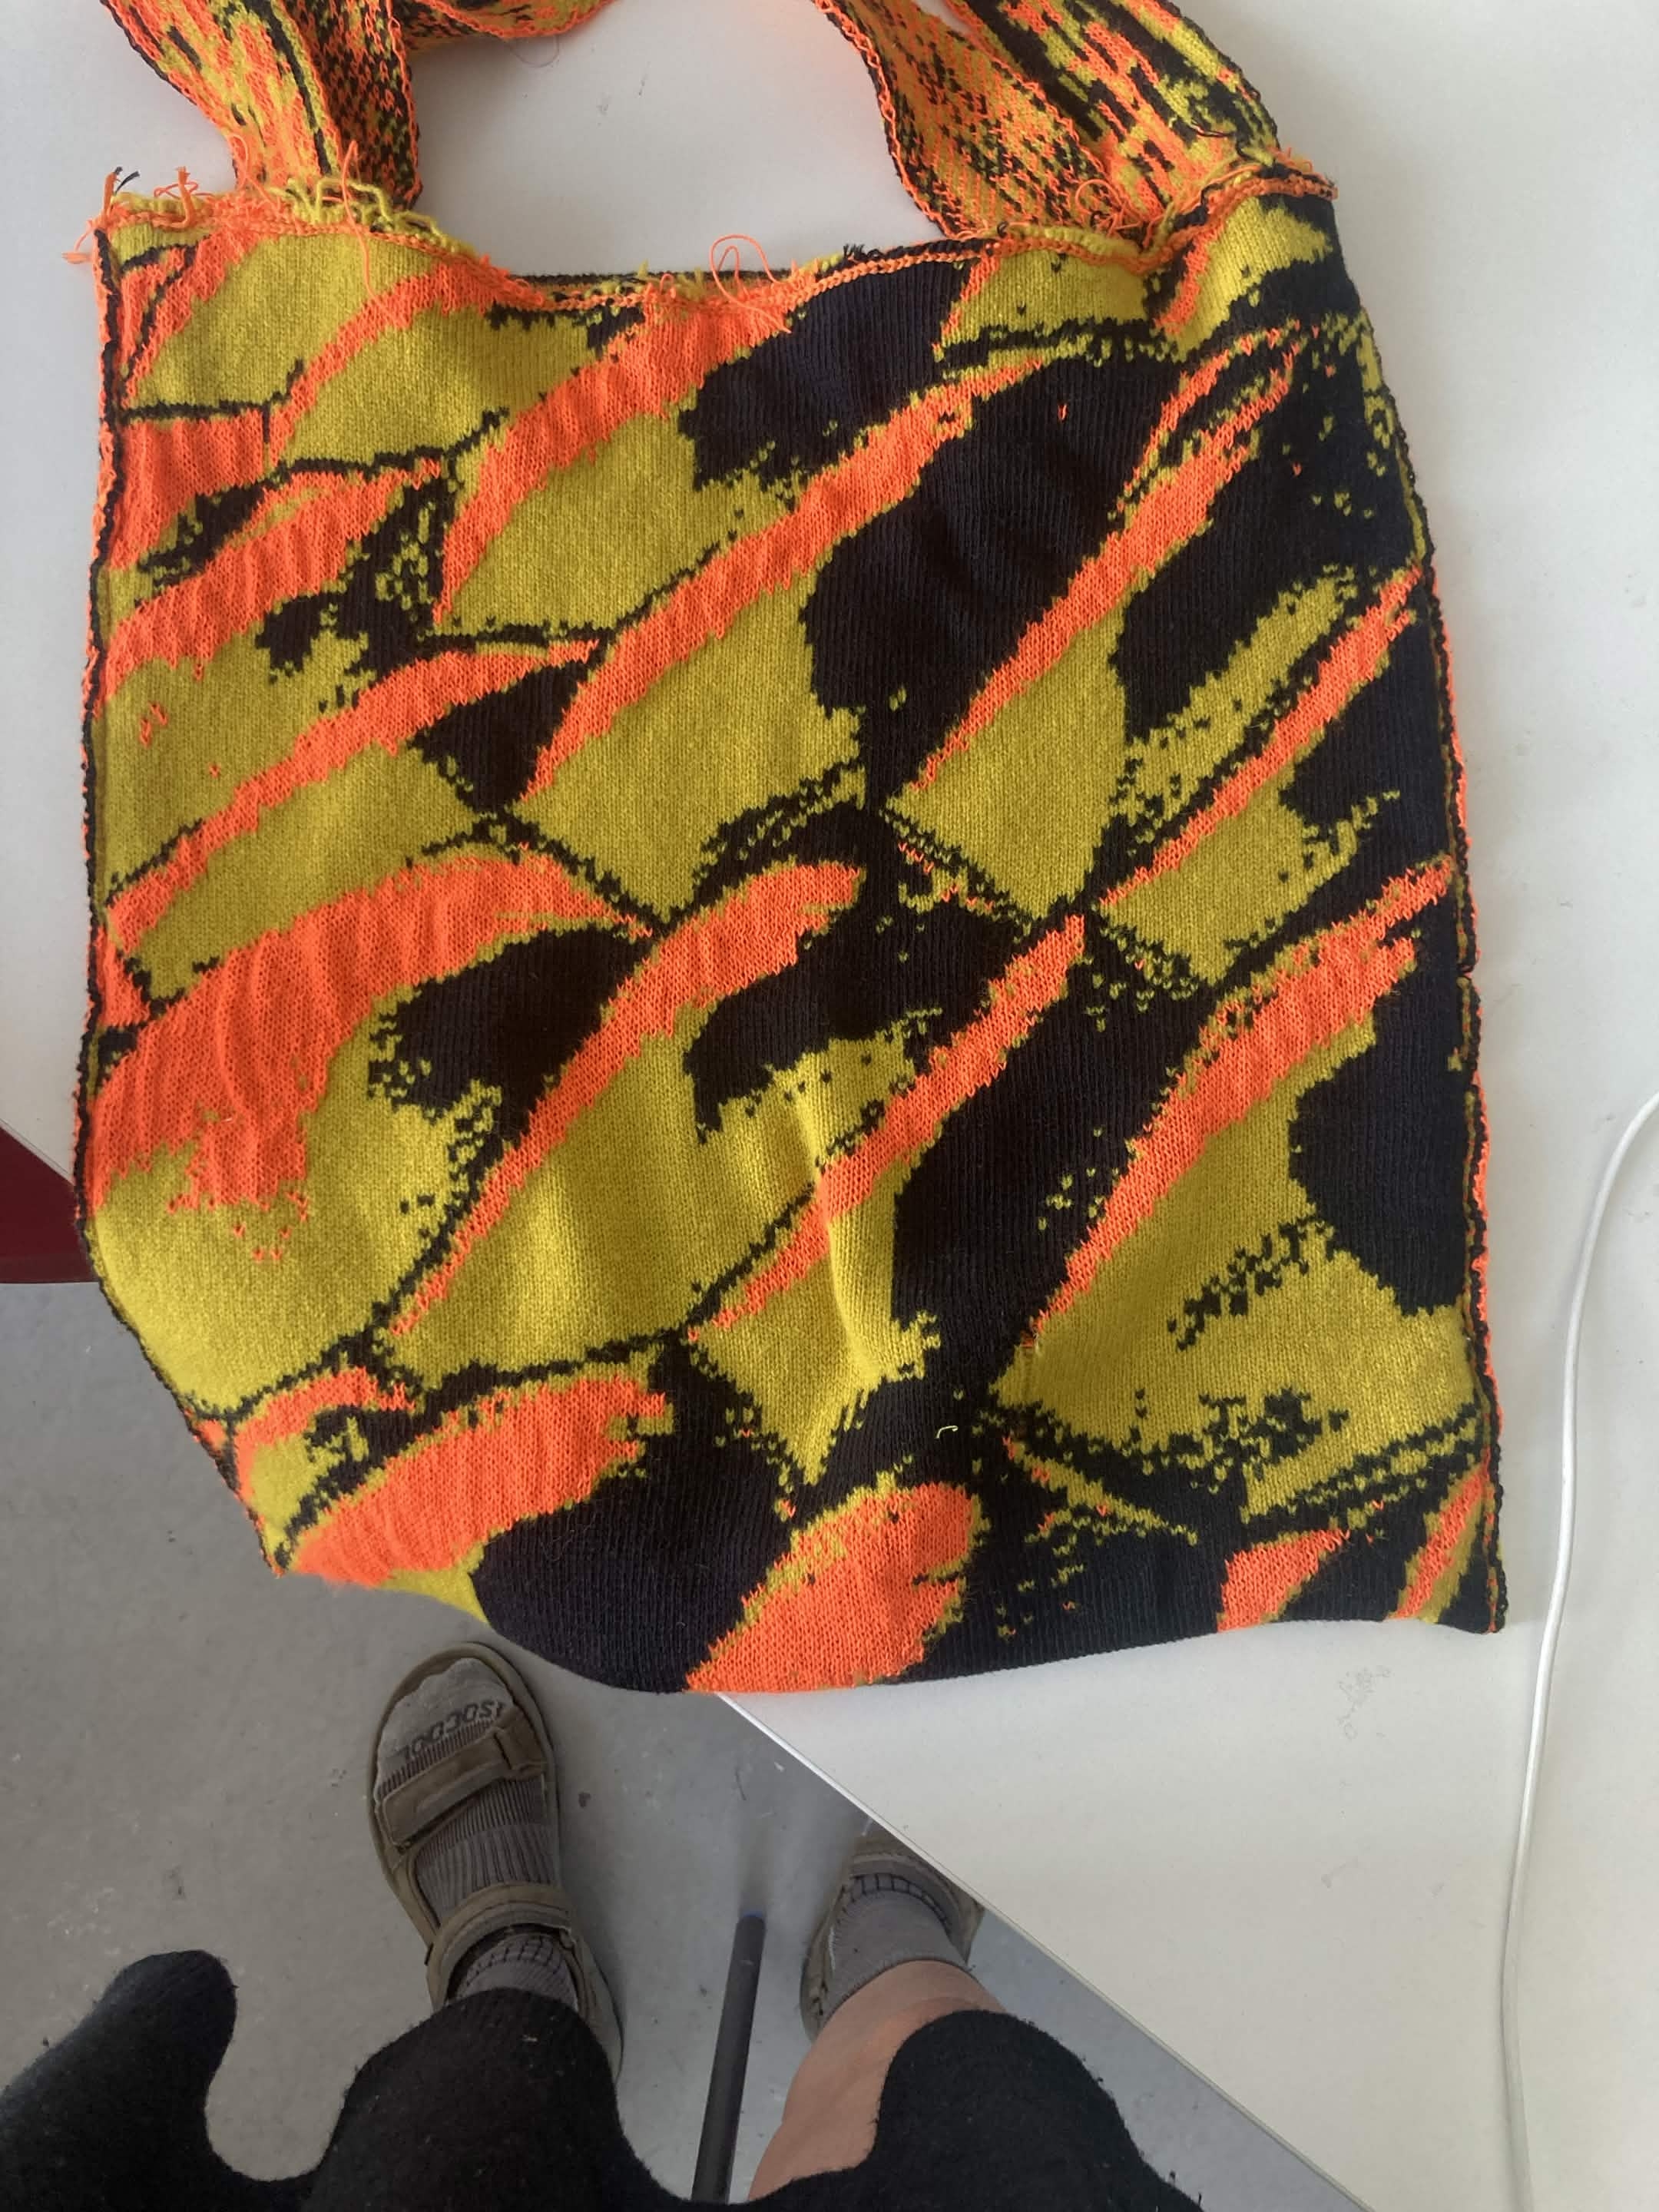 front, showing blocked colour
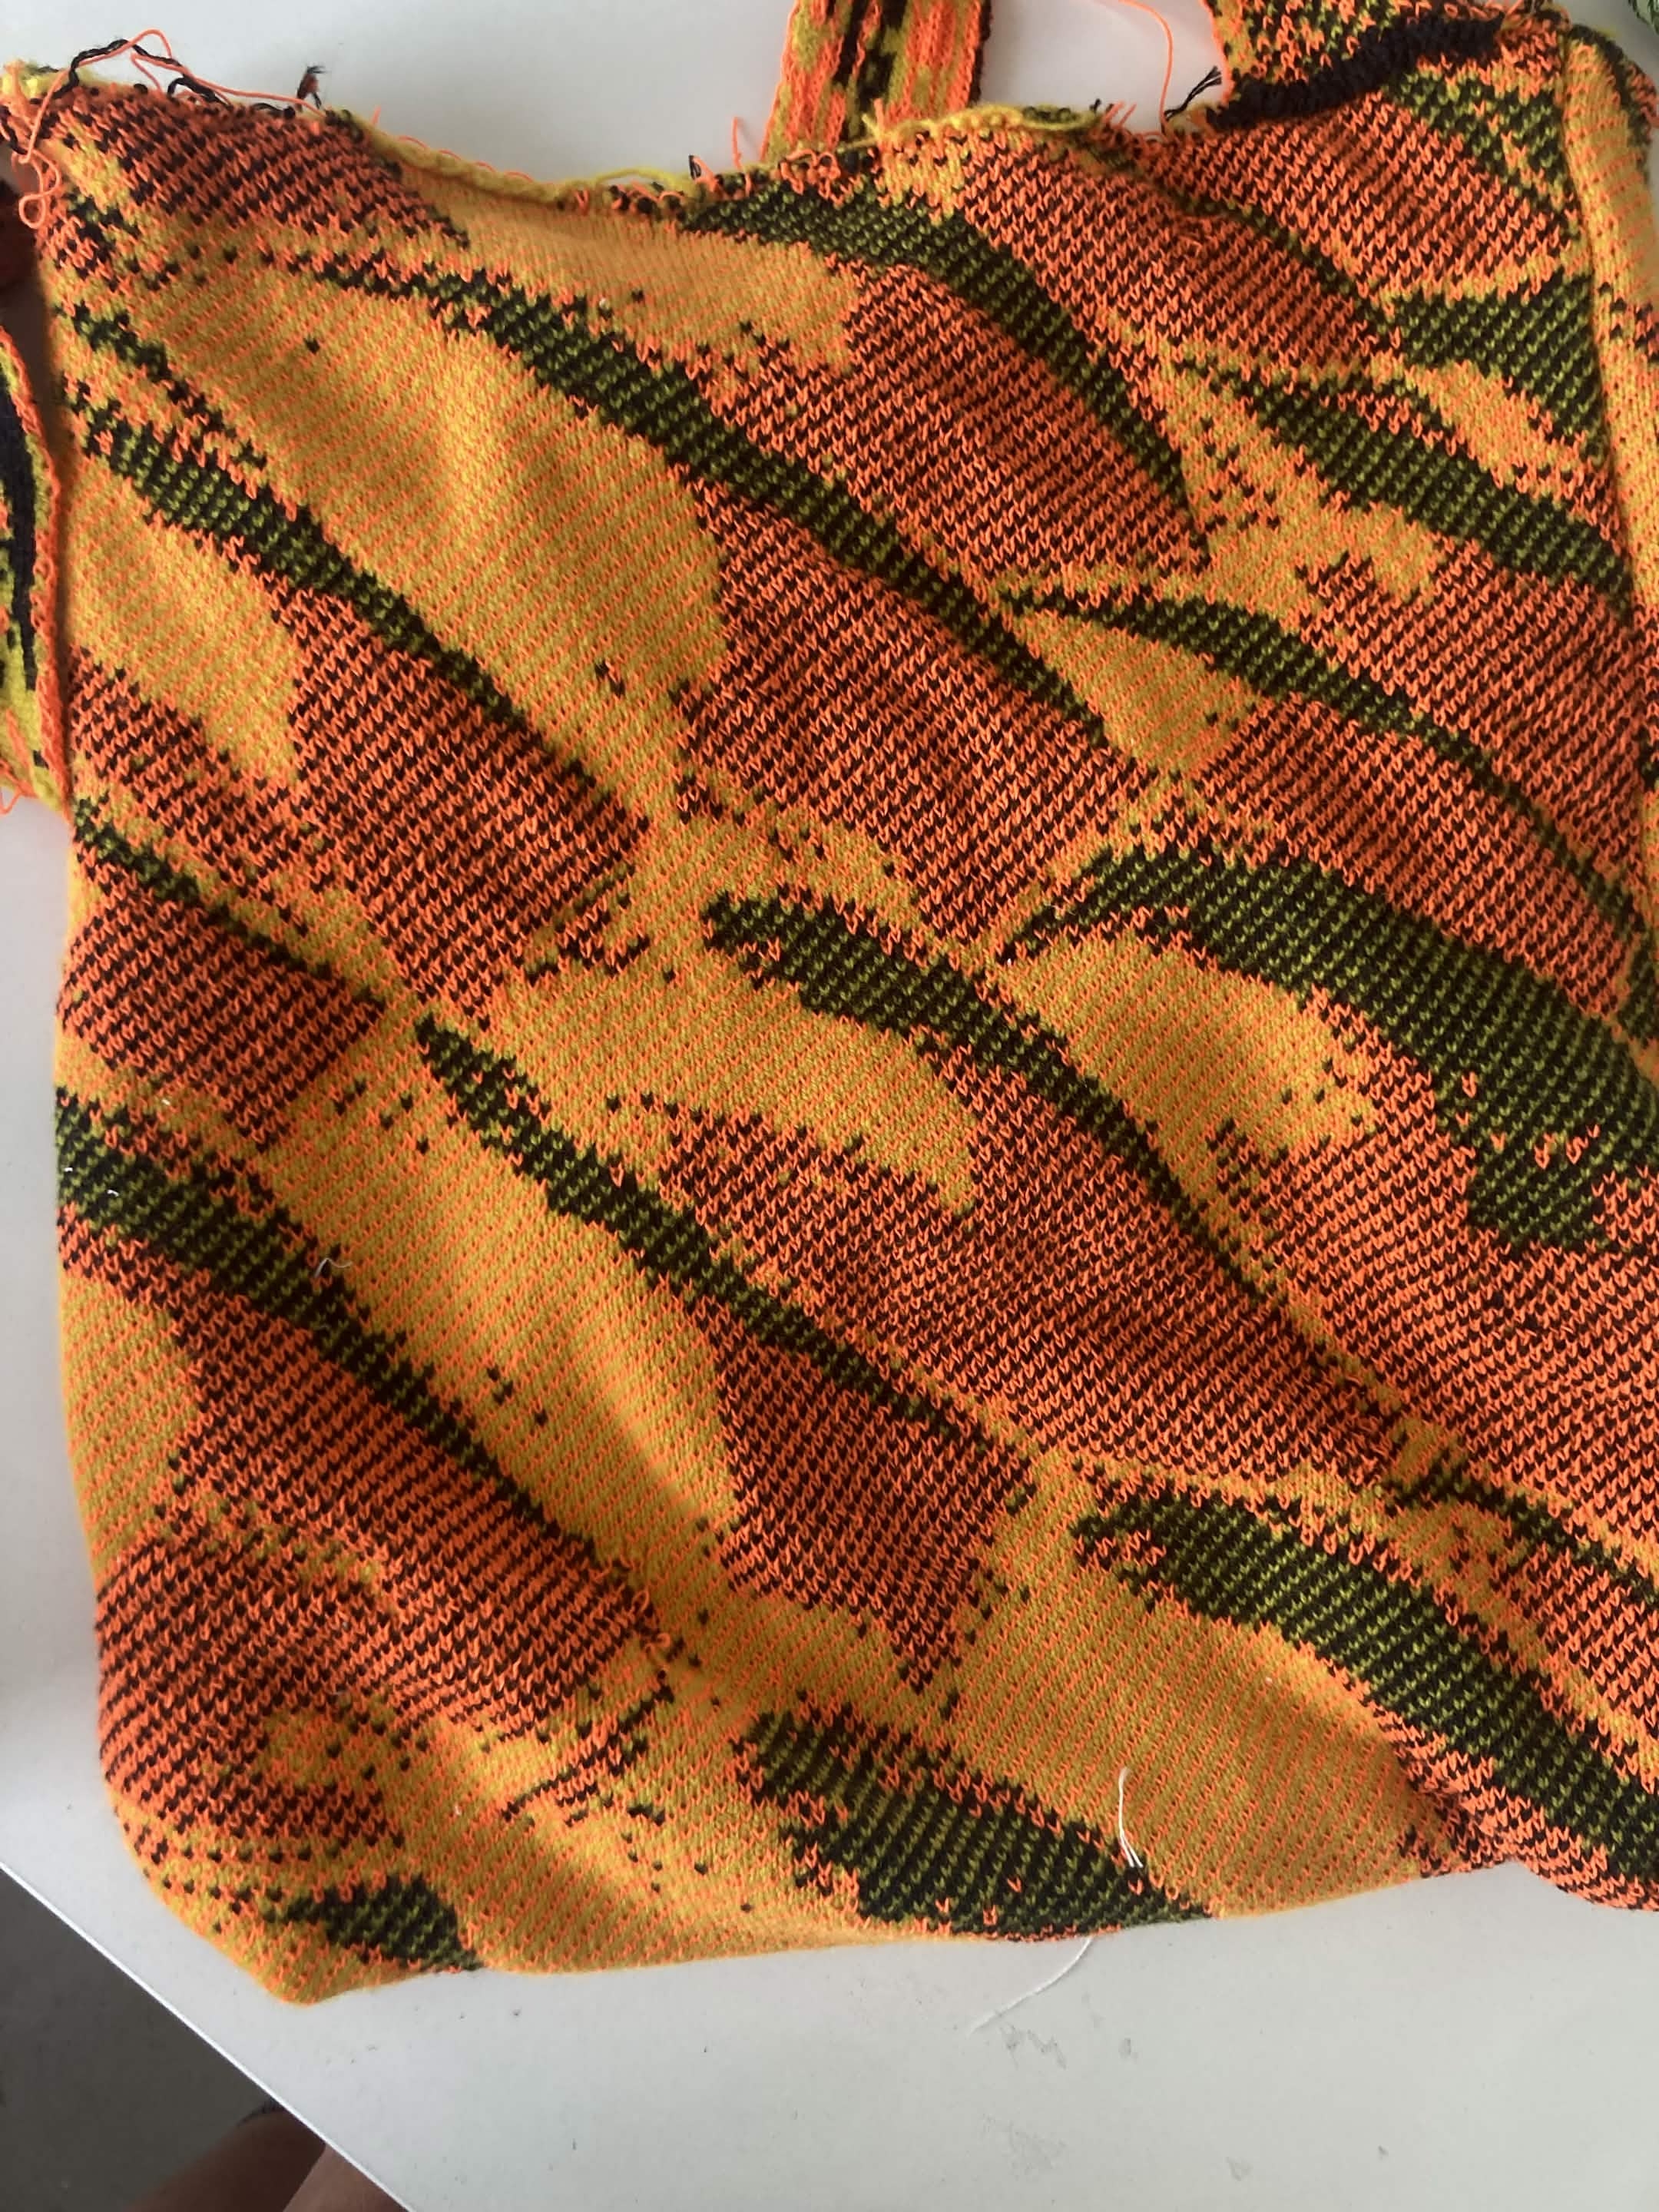 back, showing the unused yarns in a birdseye
Jacquard knit files allow you to use multiple colours per row (up to 4), and knit the not-used colours onto the back of the fabric using the back bed needles. This means that, unlike fairisle, there aren’t any floats running along the back, making for much more stable designs. The construction is somewhat complex, as each row needs to specify the positions of the carriers and needles on both the front and back beds.
Designaknit Colour Interfaces
Working with colour has given me a newfound appreciation for the Designaknit colourwork tools, which are both idiosyncratic and have a really great way of representing complex concepts to the user, while still making designs editable in lots of different ways. In particular, I like the ‘graphics wizard’, as it guides you through the process of producing colours in a way that gets you to think about the construction of the design; particularly valuable for students, and a great contrast to some embroidery software that we use, which has a default ‘press a button, get a file’ setting that can result in really poor quality outputs.
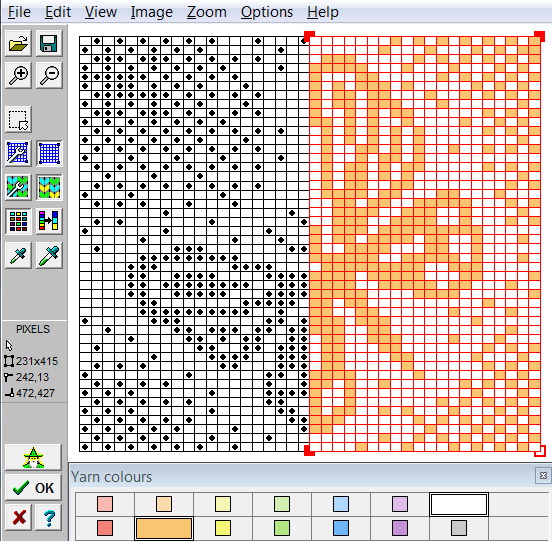 the designaknit graphics wizard
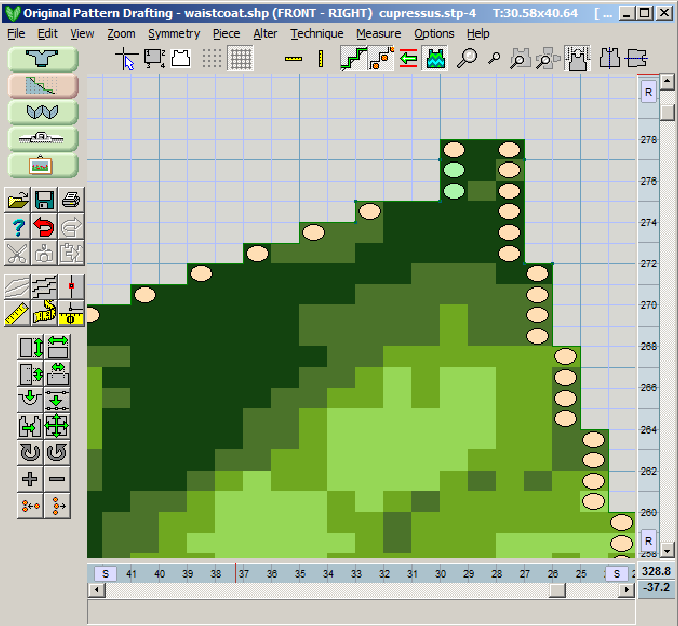 applying a stitch pattern to a shapefile
Visiting Ilana: Stoll Party
watching Ilana’s stoll machine knit
Ilana is a longterm friend of Material Programming, and has been a constant source of thougtful and interesting commentary on knit and the ‘extended technique’ of industrial machinery. We invited her to give a Chelsea a couple of months ago, where she spoke working with her Stoll machine, and pushing it to its limits. It’s always amazing listening to her talk about her work, and her ability to figure several tons of steel as a malleable medium for textile creation.
B and I took Chee and Mimi on a visit to Ilana’s studio, where she talked in depth about some programs that she’d been working on, and her process for creating new designs. I thought that it would be particularly interesting for her to give us a tour of the Stoll Create Lite software, that she uses to make designs. I’d started looking into the Sintral file format (the core of the Stoll format) in more detail a couple of weeks ago, and it was really interesting to see the files resulting from her design process.
Raster designs
One of the first examples Ilana showed us was a design for a knitted hood she’d worked on, where she wanted to knit a complex, convex shape as a single piece. Much of her most interesting work comes from an insistence on producing pieces requiring as few seams as possible – borne from both an aesthetic desire, and from necessity as a small producer, as seams must be done semi-manually using a linker.
The Stoll software represents designs to the user in stages: an editor where the pattern shape is defined (shapefile), a stitch pattern that is applied to the shapefile, then a final representation translated into the version that’s knit on the machine.
The shapefile is typically a vector format: as Ilana draws the increases and decreases, the software automatically calculates the stitches required to achieve them. She has some control over where in the design they fall, but can’t place them individually. Unhappy with the results she was getting with the generated increase/decrease stitches, she switched to a ‘raster file’. These are manually-defined, and allow increase/decrease stitches to be placed anywhere, but also require the programmer to manually calculate the length of each row after the stitches are applied.
Colour Arrangement
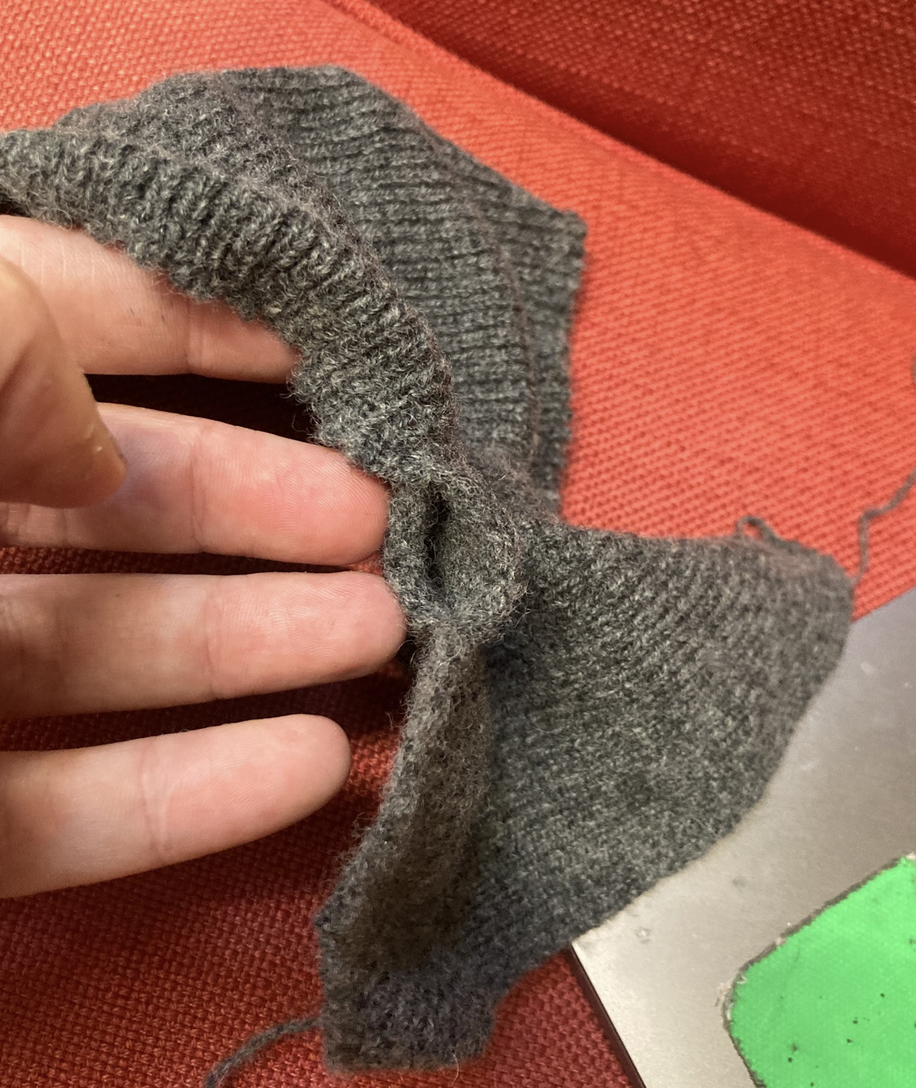 a sample tube!
One technique Ilana had touched on when I last visited her, and in her talk was ‘colour arrangement’: a way of programming complex techniques into single rows of stitches. A key application of colour arrangement is to make the design ‘take up’ the same number of rows in the editor as it does in real life, which is not a given with complex sequences of tucks and holds required to construct 3D fabric.
One example she gave us was a recent experiment in knitting a tube in the centre of an otherwise flat piece of knit. To construct the tube, she needed to first knit a row on the front bed that passes to one side of the tube, then switch to the back and knit from the near side of the tube to the far side of the bed, tucking in the edges of the tube to the front and back beds respectively. This complex operation in the normal editor takes a sequence of 6 rows to represent, but physically only requires two.
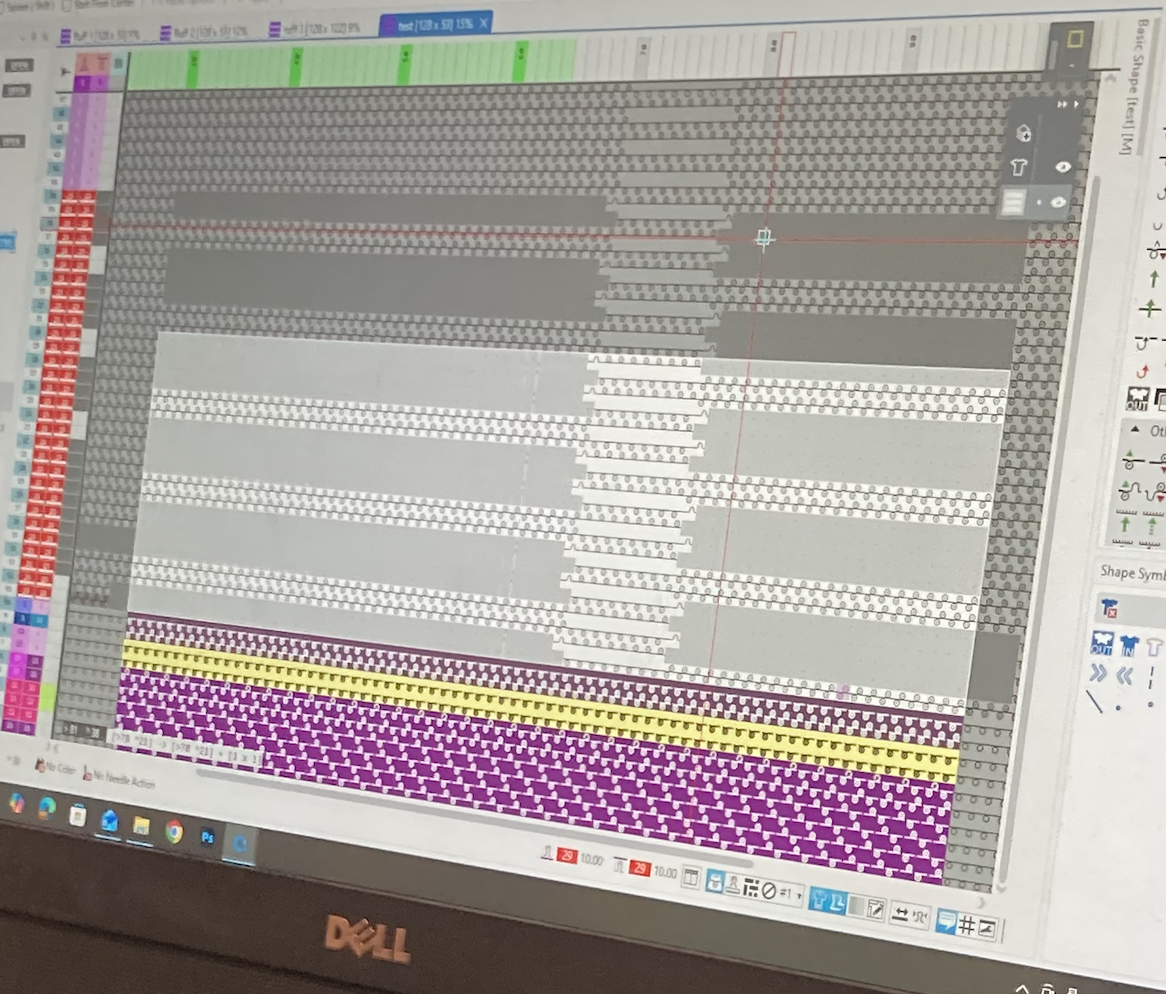 the original design, showing stitches split over multiple rows
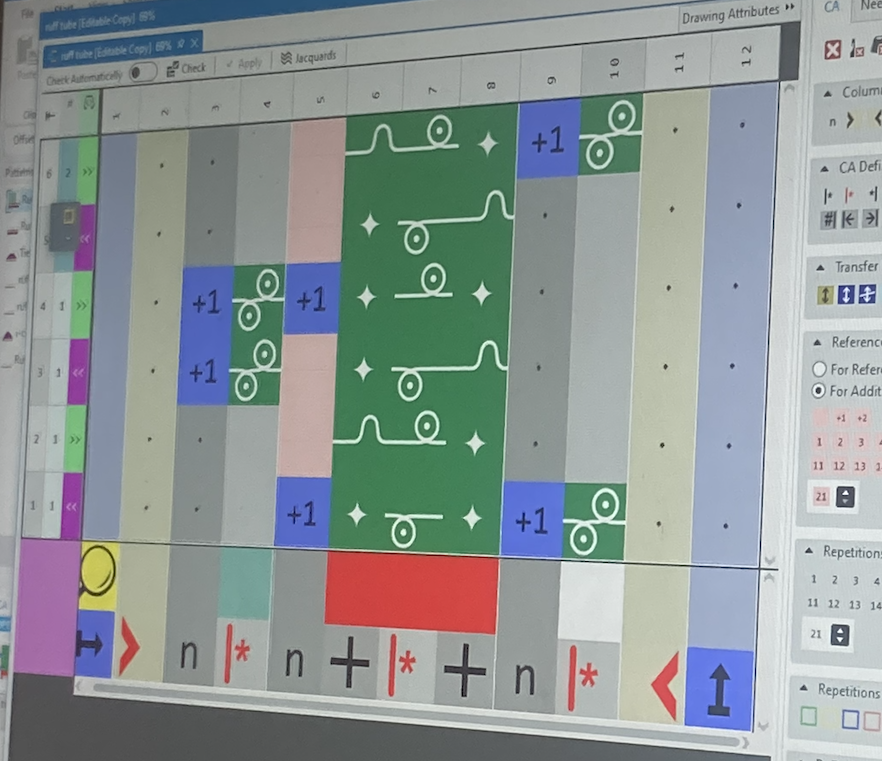 the colourwork solution
The colour arrangement that gets around this works like a regular expression: a sequence of colour-coded stitches is pattern-matched to indicate what the machine should do at each step in the process. The front-bed stitches are indicated in white; the back-bed in green, and the stitches that comprise the tube (alternating front/bed plus tucks) in red. The colourwork block identifies this pattern, instructing the machine and also illiustrating at what point a ‘row’ has been added for each colour.
In addition to the regular knit symbols, colour arrangement adds some marks: stars indicate ‘do whatever the previous stitch was’ (similar to a wildcard, or the ‘+’ symbol in regex), while +1s indicate when a row is considered ‘increased’ for a particular colour segment. As the whole pattern takes up two ‘rows’, each column for each colour has 2 +1 symbols, indicating this increase occurs at different points for each column.
Modules
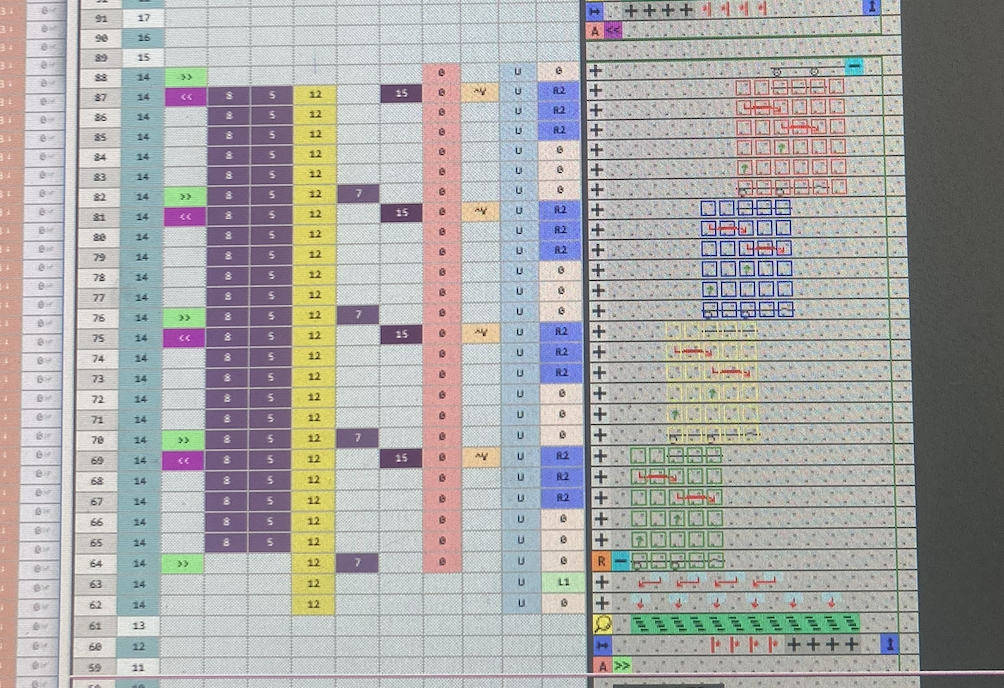 the bindoff module
Another technique seemingly deeper than colour arrangement is the module – a definition of a particular stitch that comes built into the system. The instructions for this were different again to regular knit – Ilana told us that she didn’t edit these due to their unfamiliar symbolic language, but that you could.
I thought the module representations were particularly beautiful – the one indicated in the image shows a set of instructions for a bindoff used mid-design to avoid fabric having to be held by needles (and potentially rip) in the process of creating a long shaped piece.
Knitout Extensions
One corollary of working out some interesting demos for the knitout visualiser is working out which aspects of the Kniterate’s operation that can be varied programmatically. Past the core specification, there are also a series of ‘extension’ commands that allow the machine and visualiser’s behaviour to be modified. The best list of them is available on Gabrielle Ohlson’s knit.work site.
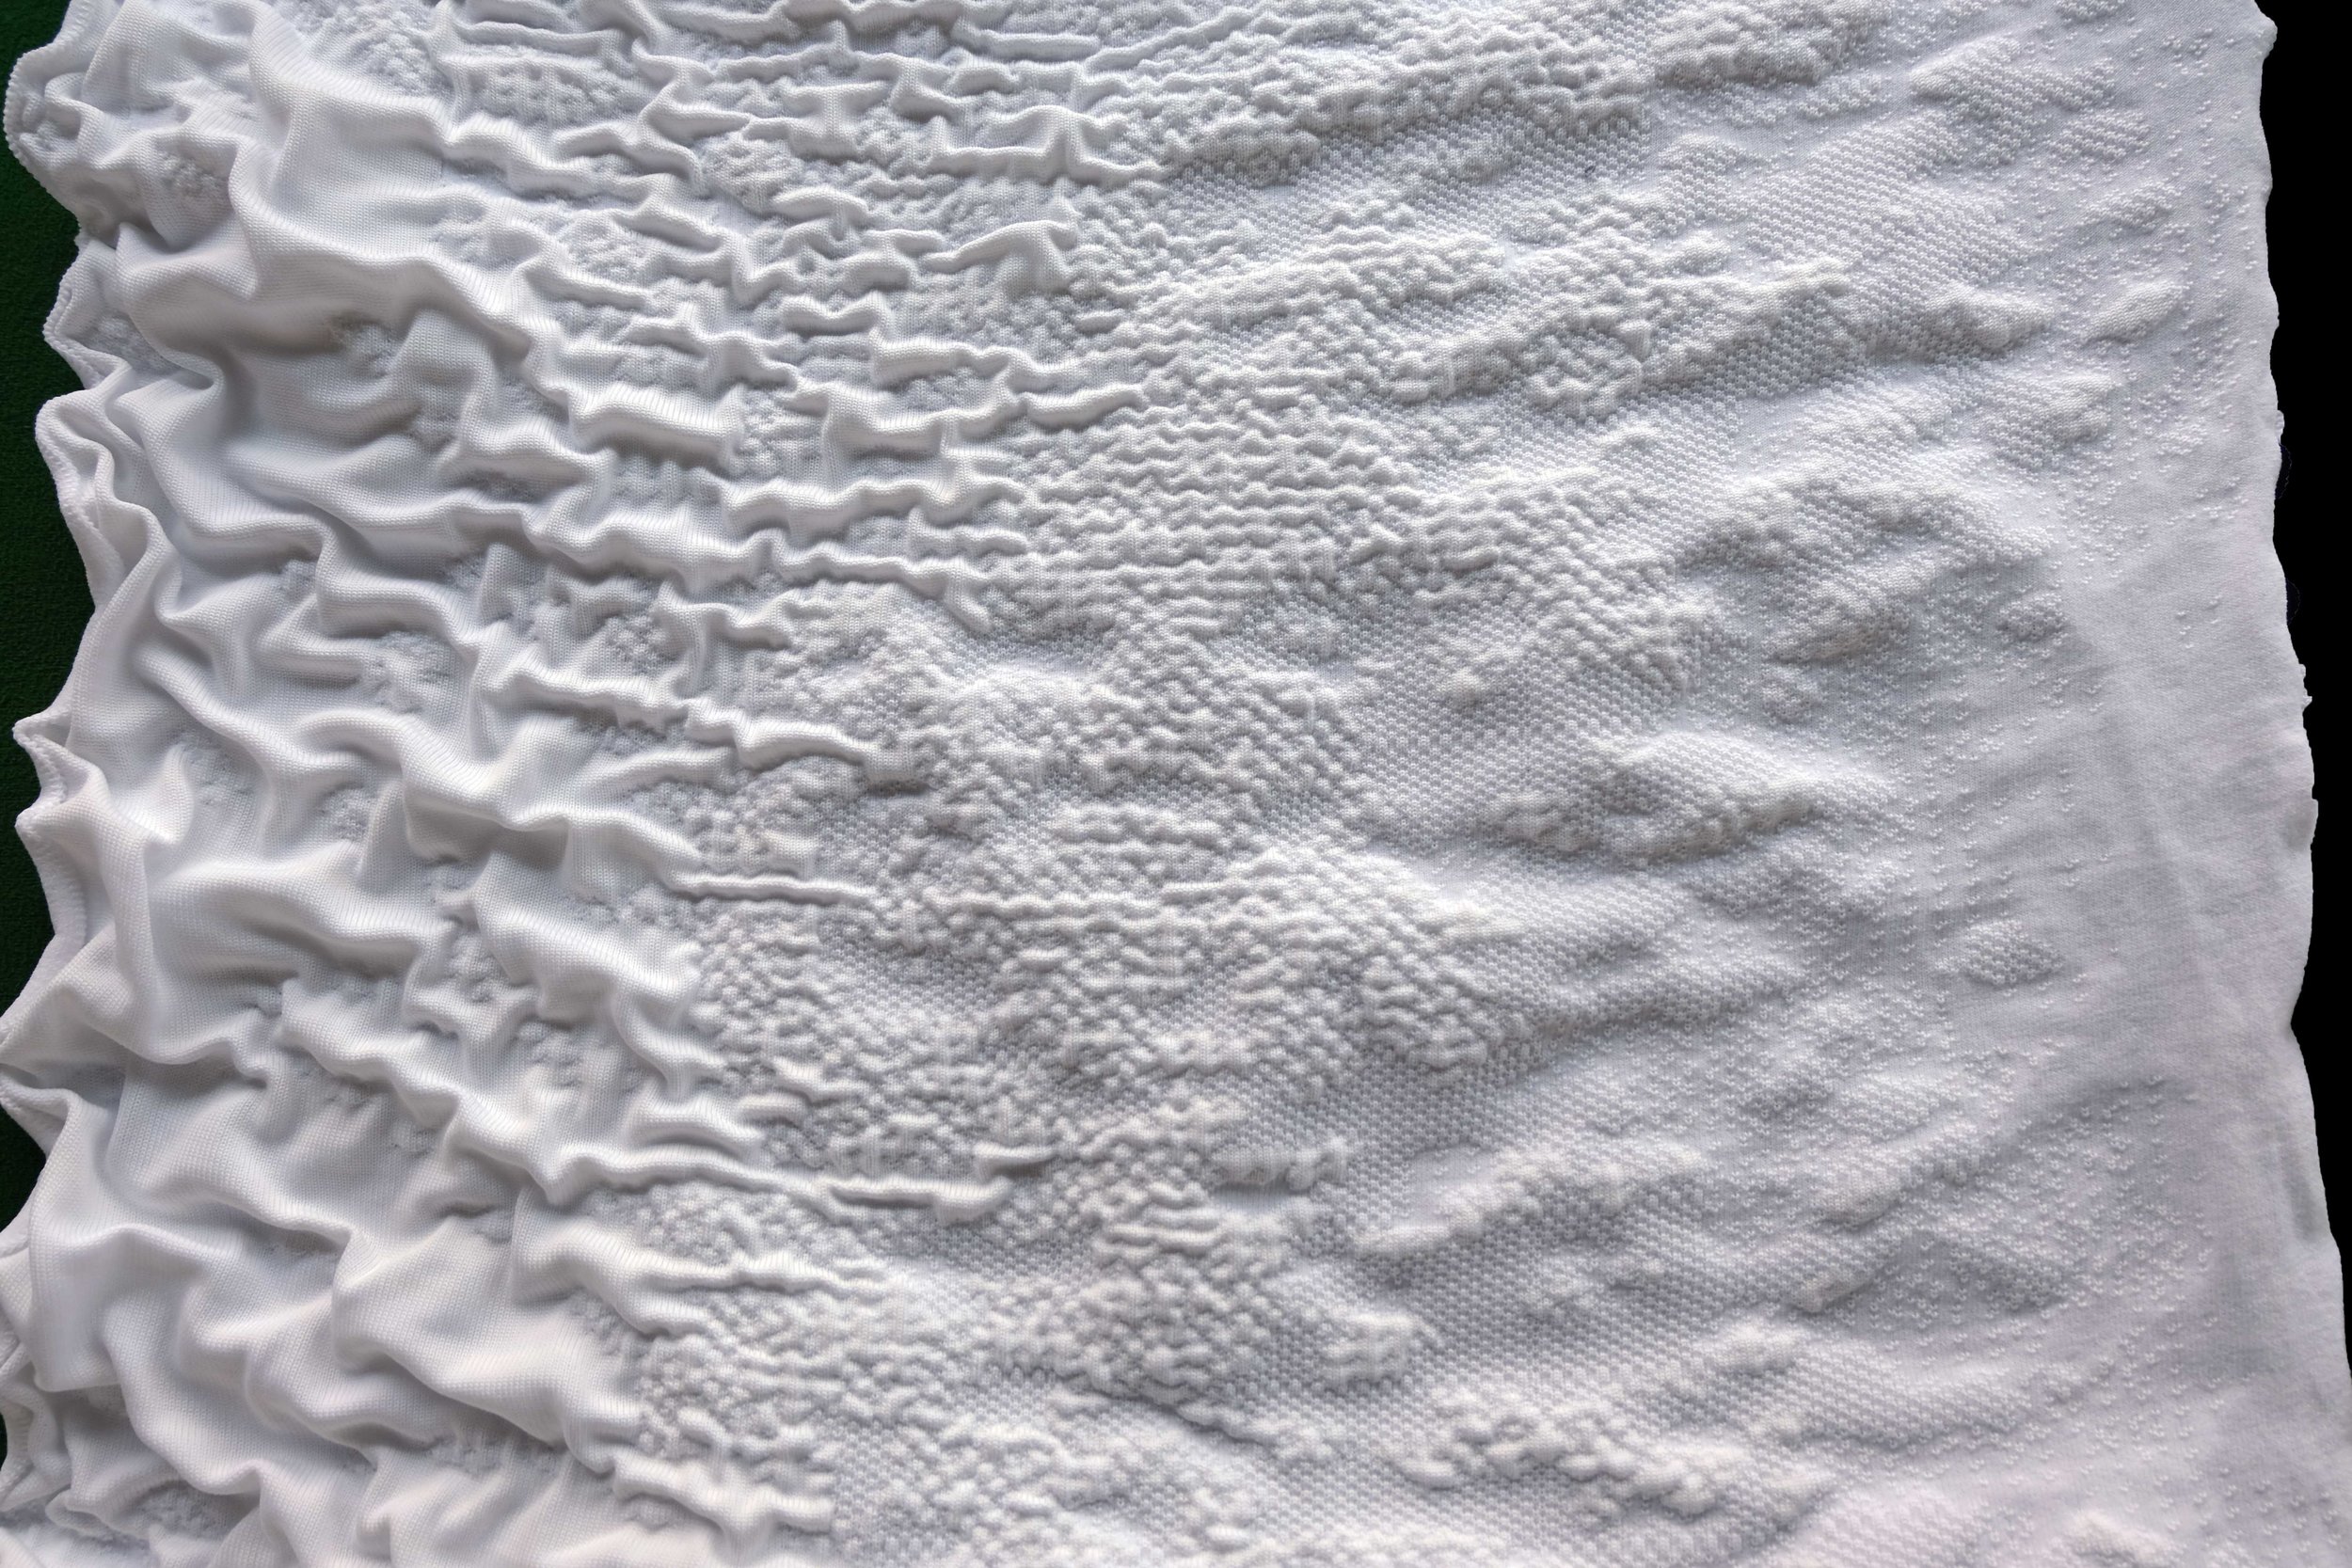 Ani Liu’s piece Psyche In The Age of Mechanical Production
Testing Tension Variation
An example of programmatic knit that I love and often show to students is Ani Liu’s Psyche In The Age of Mechanical Production, which uses EEG data from a worker in a knit factory to vary the tension of a sample based on measured stress. B and I wanted to experiment with varying the tension in a sample, and produced one with tensions between 5 to 7 – tighter and looser on the machine. We had some issues with the first few knits of these and ran out of time to test properly on the Kniterate. The issue potentially has to do with the roller advance, but we need more testing to be sure.