
kniterate notes 10
This is the tenth in a series of blog posts about the Material Programming Project. We are developing malleable knitting software for the Kniterate, a semi-industrial knitting machine. This post is mostly about work involving the malleable programming tool Patchwork, and using it to make new knit tools. If you'd like to read the first post, it's available here, and for an intro to Patchwork, try here.
I’ve been in the process of writing this post for about a month now, and every time I come back to it something else has happened. We’re midway through this term’s student workshops, and now feels like a good time to make a note of everything that’s happened since September.
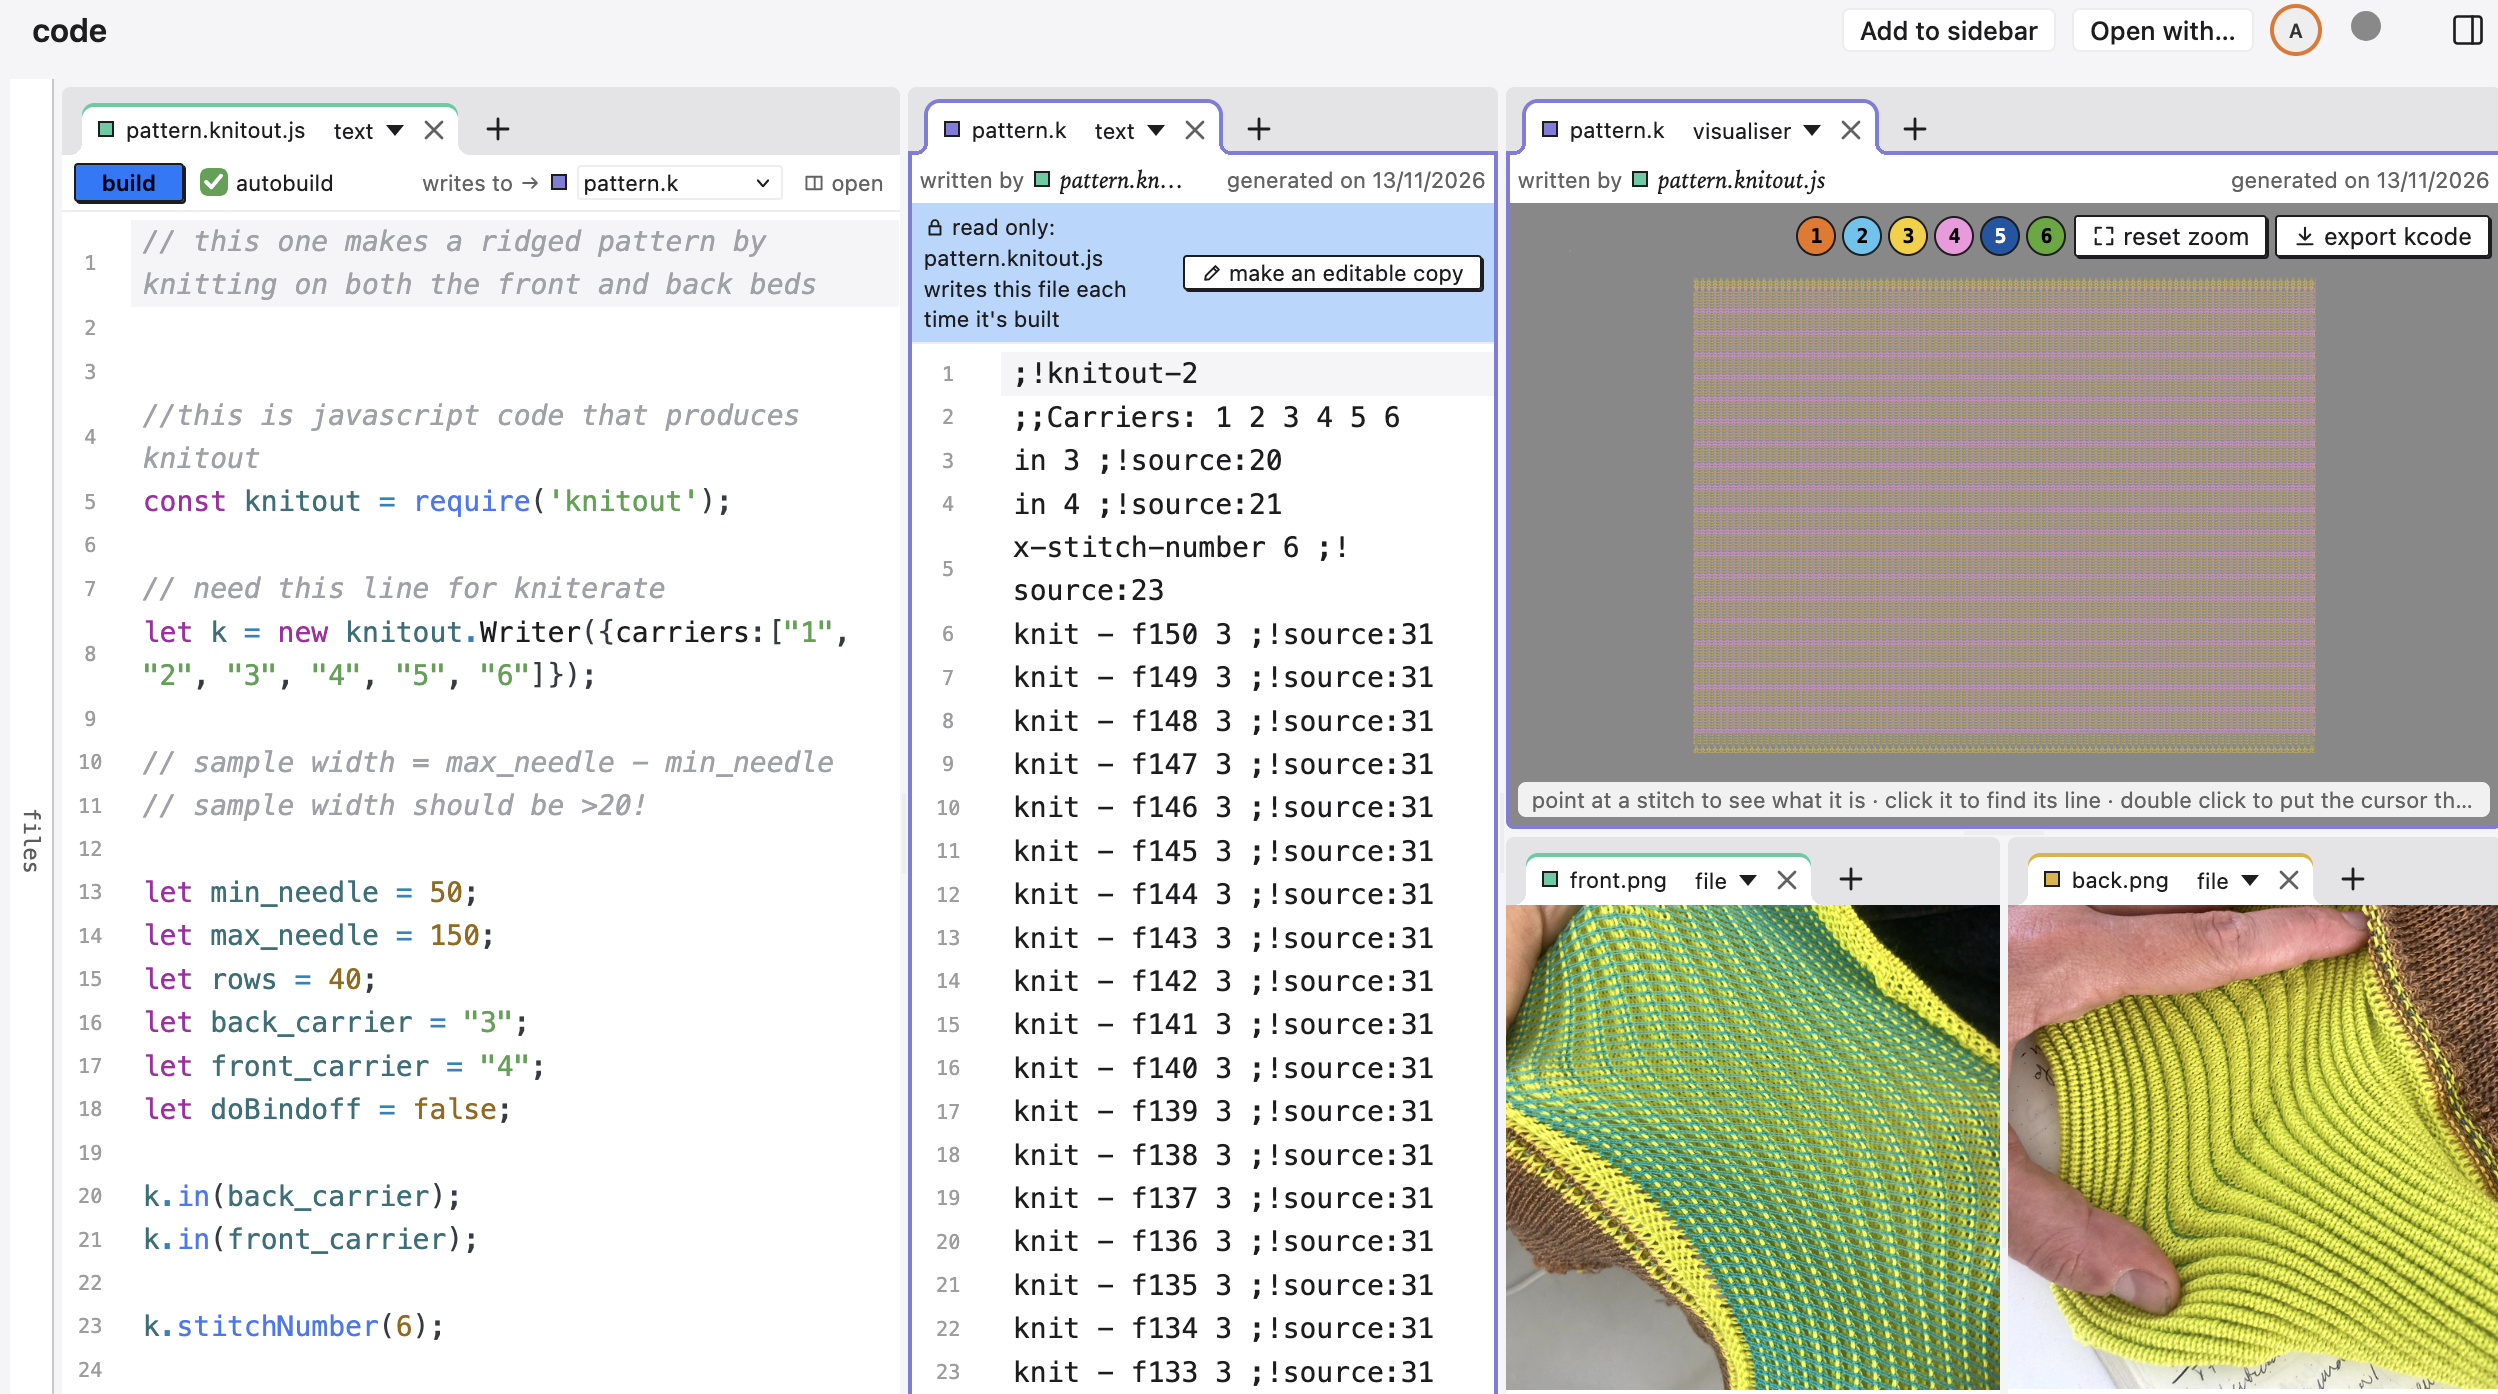 experiencing excessive amounts of quality of life in knit.patchwork
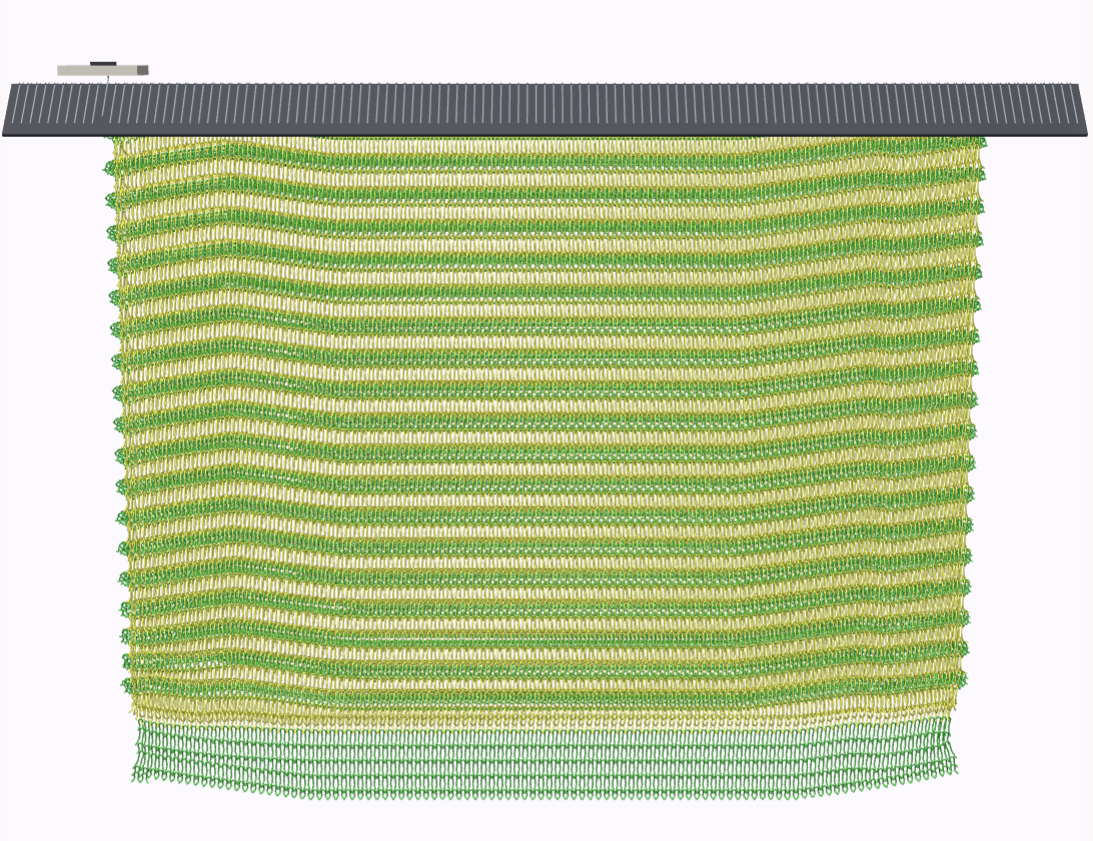 the same ottoman sample from above in one of Chee’s experimental visualisers
The last couple of months have seen a lot of Patchwork-work and development. The main strand has been to take the constellation of tools we’d been mashing together for our own purposes, and get them to a point of being usable by students who are encountering ideas about programming and technical computing for the first time. This has involved a lot of different strands of work coming together to make the tools a lot more robust:
- Loads of quality of life updates to Patchwork, thanks to Chee+Mimi – these include things like…
- multi pane view!
- resizeable windows!
- much much much faster rendering
- Chee made a standalone Patchwork instance called knit.patchwork that we’ve been using for the workshops. This can be used, by you! I’ve written some notes on getting started
- As resources for the workshops, I’ve been working on building up a sample stitch libraryimport this into knit.patchwork by dragging this folder into the left sidebar for KnitoutJS, writing some proper Knitout notes and translating existing tools into knit-patchwork. I also:
- found + fixed a bug in KnitoutJS! (where the carriage speed was getting set to zero by accident every time the roller speed got set to zero)
- finally got the bindoff working properly
- Mimi is experimenting with some tools for representing provenance and part-whole relations
- Chee has been making some really rad knit simulation tools that give you lots of information about what the machine is doing and how fabric behaves
- we met Hannah who made Knitscape and had a really great conversation where we talked about toolmaking and cellular automata
- 2 days after that call and with some of these ideas floating around in my head, I made a little tool called blobber
learning patchwork
Attempting to understand Patchwork to the extent that I can teach students how to use it has been really reminiscent of how it felt to teach a class on the this keyword for the first time. Which is – I thought I knew what was going on, but there’s actually a lot of complexity (extra complexity: patchwork is also often changing).
For a bunch of reasons (discussed below) that can be summarised as “teaching programming takes ages” we haven’t actually really got into the weeds of Patchwork with the students yet, but imagining having to explain it properly to someone has definitely been instrumental in my getting a better grip on it.
pushworkflow
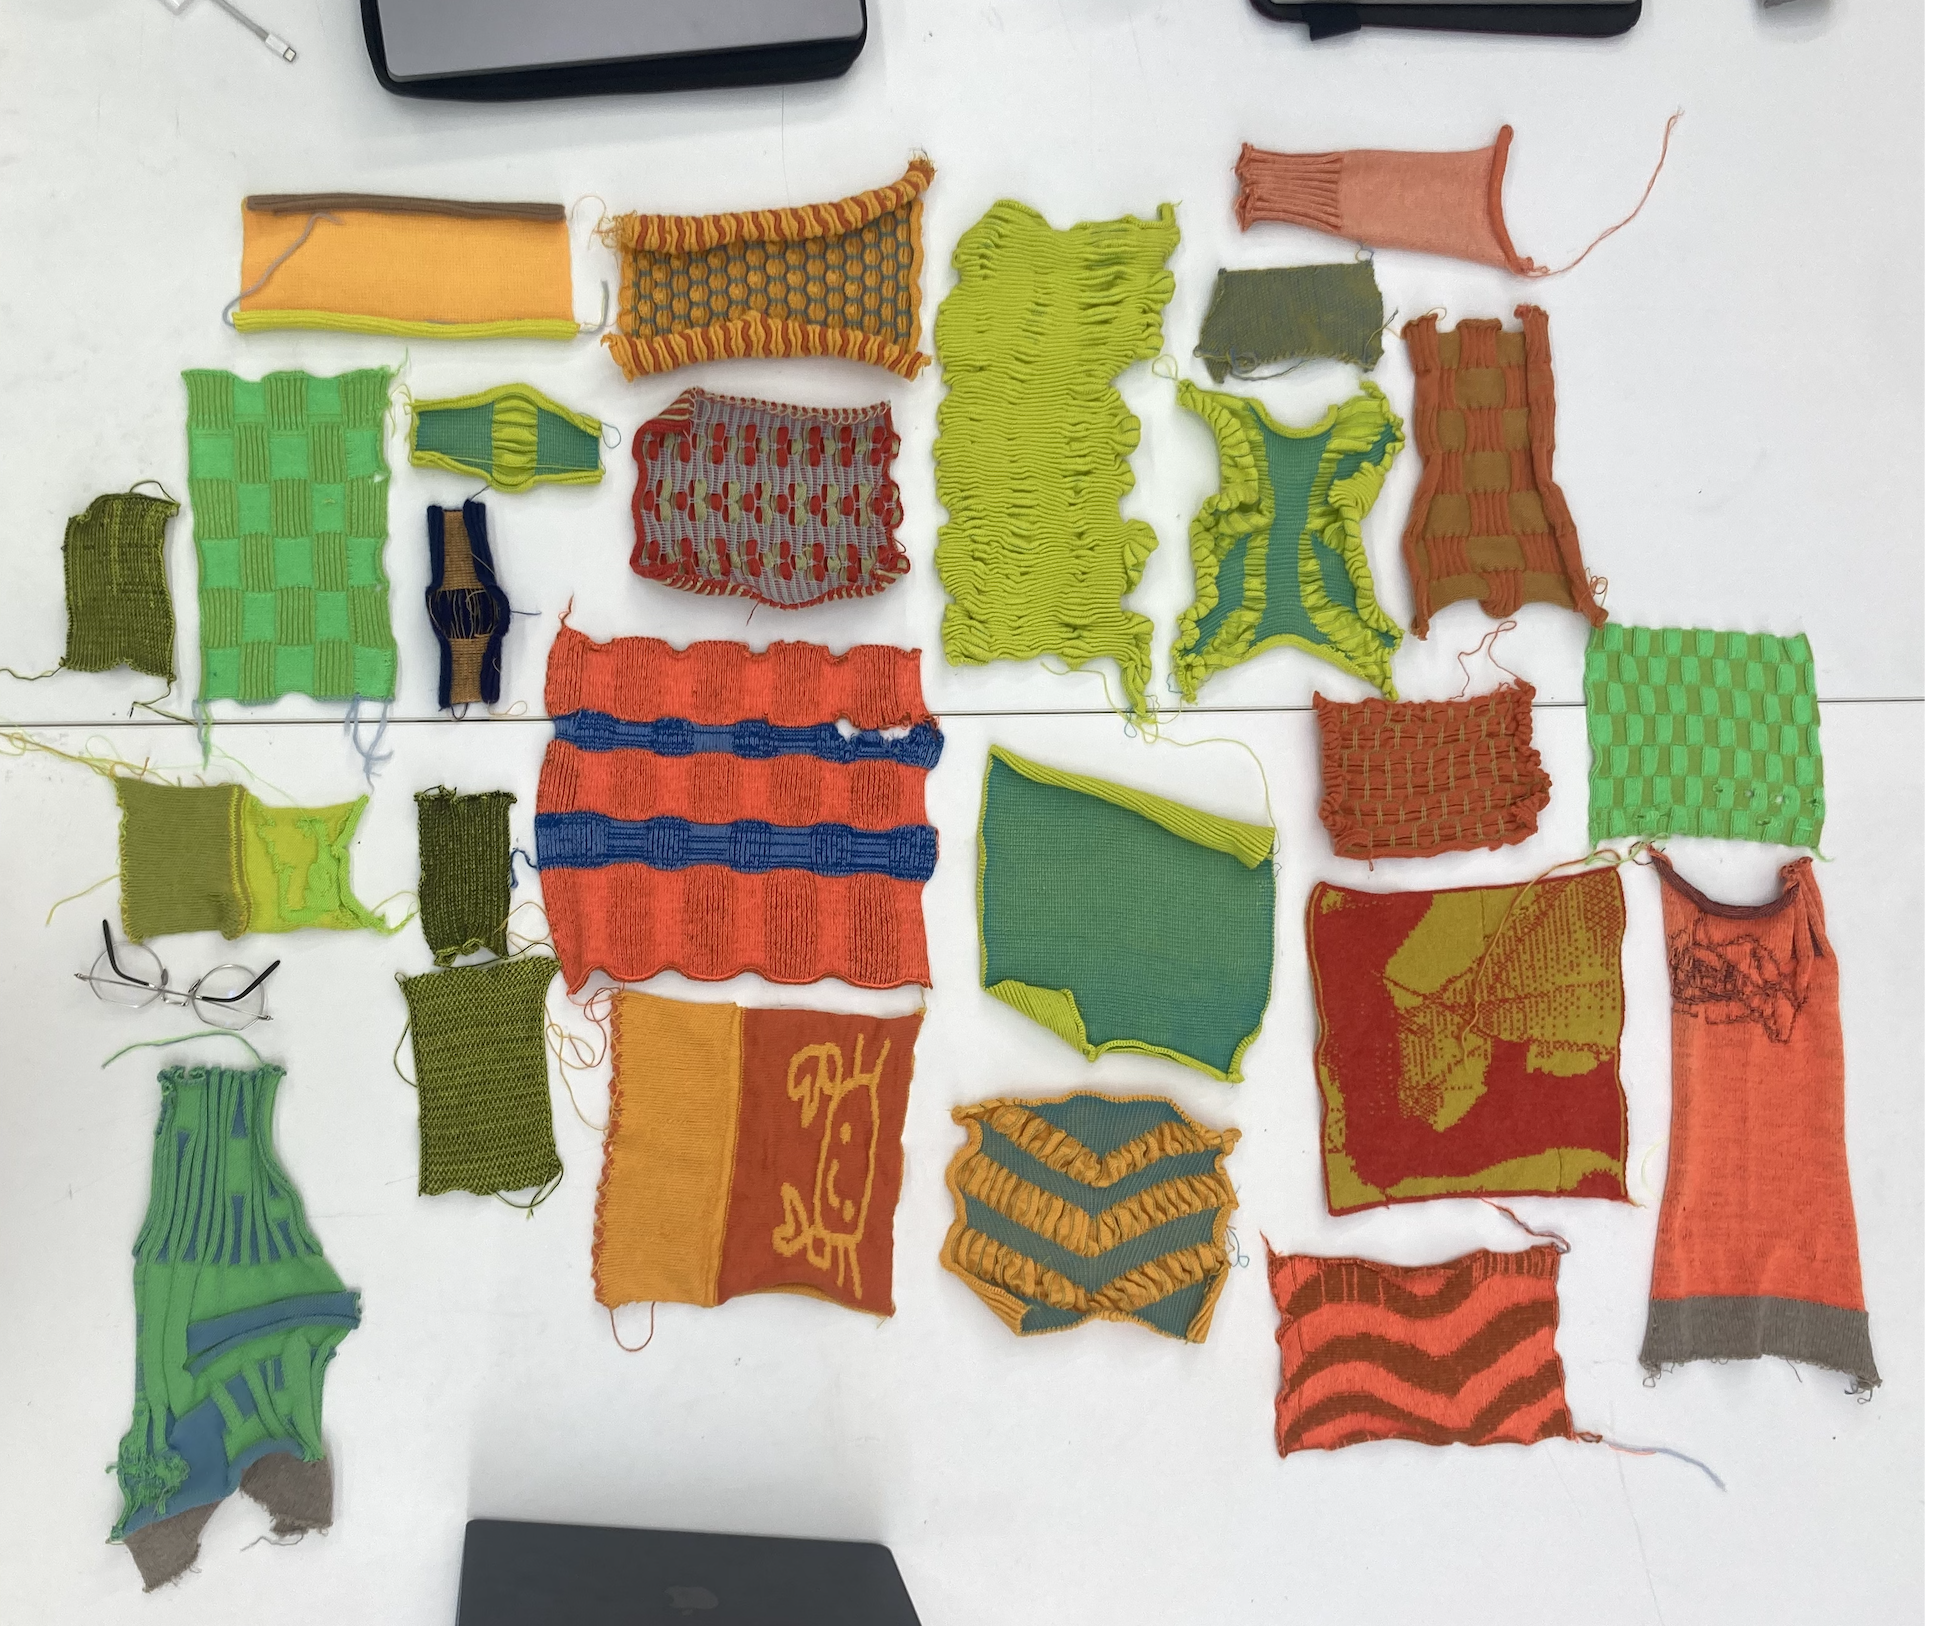 laying out our samples for the first workshop
One of the big jumps (for me) initially was getting more comfortable editing patchwork packages directly. The Patchwork management system is called Pushwork. Pushwork is sort of git but without any structure (yet) and only some rudimentary ways to test locally.
To make a local copy of a package (or I think anything that exists on the other end of an automerge url), do:
pushwork clone <automerge url>
Make the changes locally, and to merge them with the online version type the following in the same folder:
pushwork sync
One of the issues with this workflow is that there’s not (as far as I can tell) an easy way yet to test anything locally. As such, it feels a bit like pushing on soup a bit, and I’m quite glad I’m the only person changing the tools as I’m using them. There are also no commit messages, which definitely contributes to the soupy feel.
improving knit tooling
For quite a bit of time I was separately exporting knitout (by printing it to the console) and then loading it into the original web editor to do things like add the waste section and export the kcode. This feels like ages ago now, but I really did live like this for a few months months (interestingly/excitingly, despite this, patchwork was still so useful as to make this a worthwhile thing to do).
It wasn’t too hard to make an ‘export kcode’ button in the Patchwork interface, but the reason for holding off on this for a while was a feeling that what should happen is that the knitout file should really exist as a separate, intermediate file in and of itself. We got to the following:
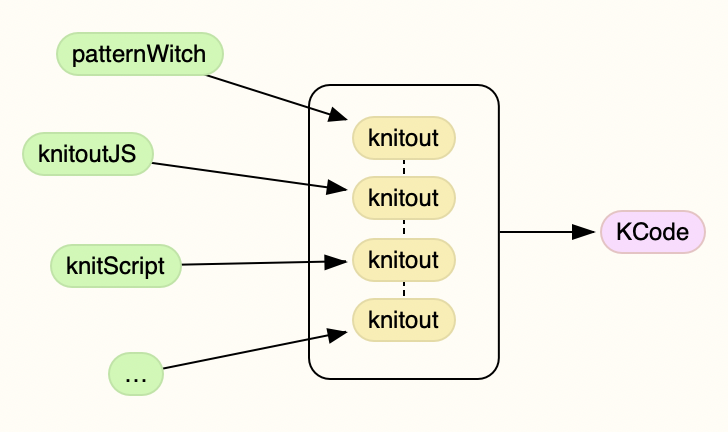 block diagram of knitoutJS -> knitout -> kCode
A new ‘knitout editor’ by default creates both a versioned knitoutJS file, and a versioned knitout file that is built from it. By default, the editor displays two different instances of the same ‘knitout’ file – one open in a ‘visualiser’ mode, and one in a ‘text’ mode. The knitout file is automatically built when the JS file changes (this can be switched off if it gets annoying), and both are versioned using Automerge.
This contains some more subtle ideas. Knitout is, by default, less informative than the JS file that produced it: knitout contains all the instructions, but the JS file contains information that you can use to generate the instructions, plus information about how they were generated (this is a monad I think?).
The Automerge representation of the Knitout file gets a nice piece of metadata where it points back to the JS file that was used to make it. (question -> if you stop autobuilding from the JS file, does it point back to the specific version? I hope so…)
This also feels like the first stage of getting to do something really cool, where we can patch together different knit programs into a larger entity. If everything is just pointing to an intermediating knitout file, you can just say, “all of you write to this file in this order”.
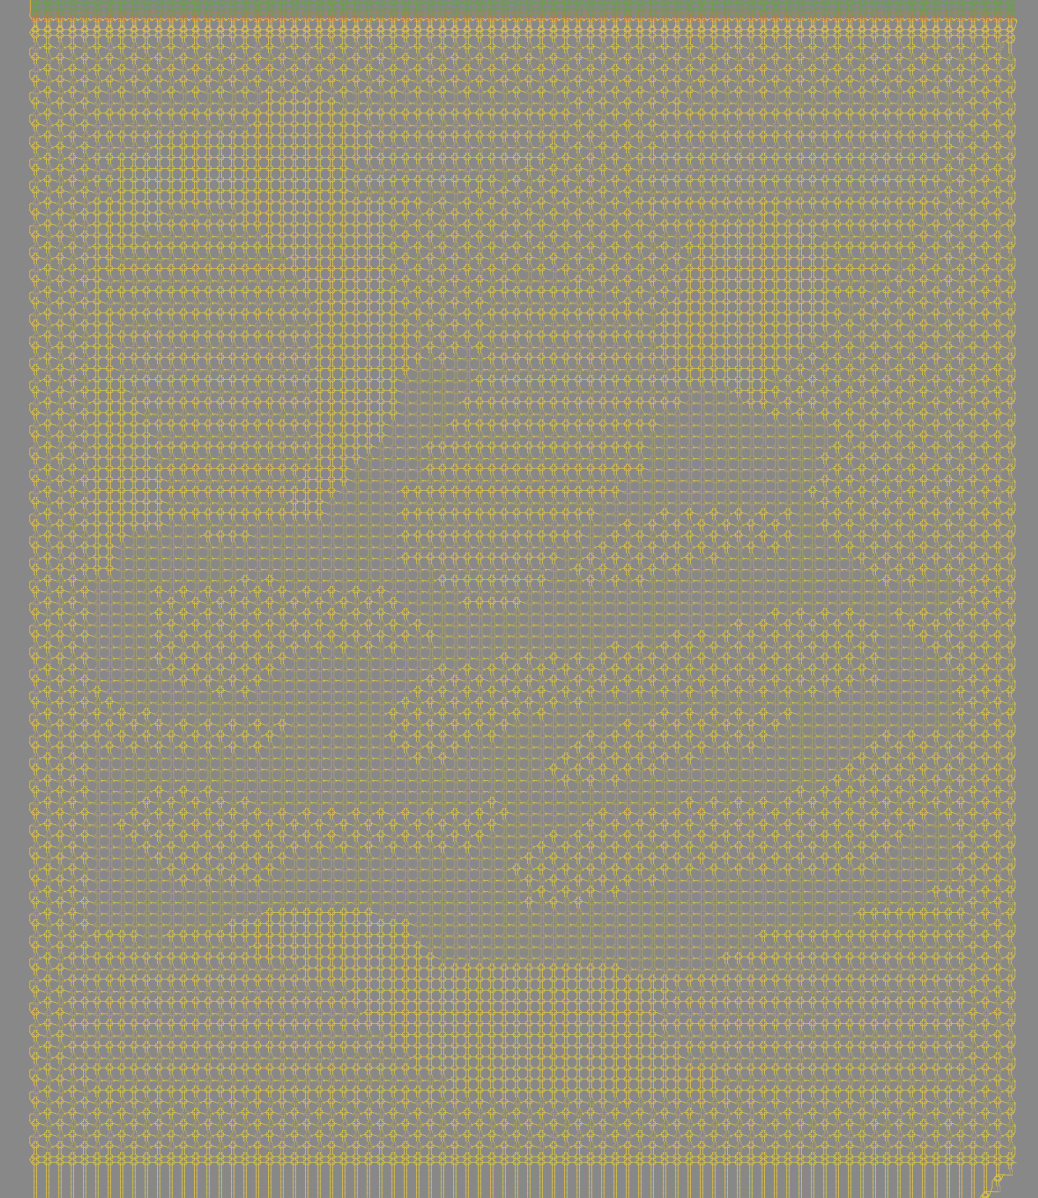
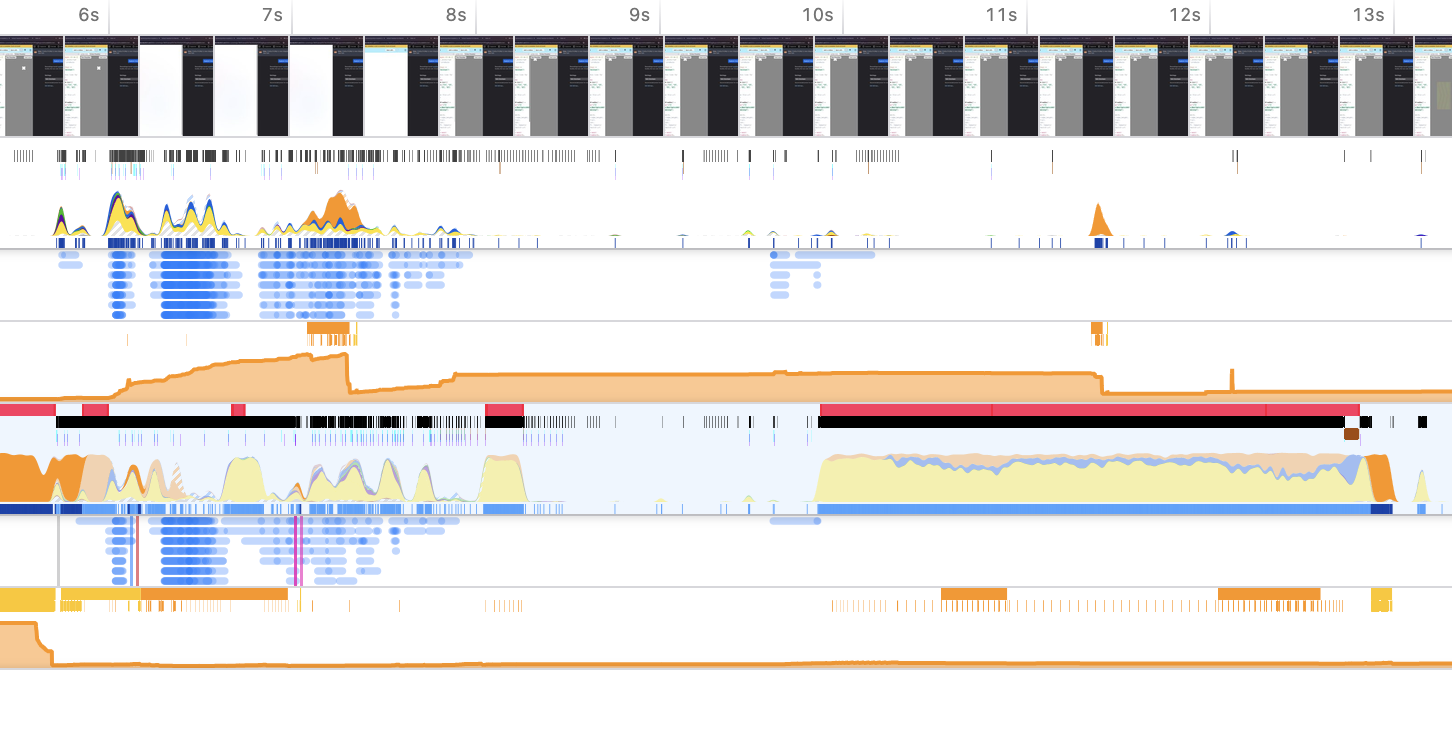 initial knitout visualiser network profile
visualiser changes
I also had a brief period of trying to make the visualiser code a lot faster, which involved using the web performance tab in Firefox for the first time. Chee has since put all this in a web worker and sped it up significantly more in the process, but I still enjoyed getting to learn how to read these funky graphs. I thought there was something nicely knit-like about them, so I include them here for posterity. Many considerably more significant and exciting visualiser developments are currently underway…
‘utilities’ modules
After we’d sorted out the mental model of the KnitoutJS -> Knitout relationship, it started to get easier to think about other things. In some ways, the ‘ordered blocks’ model complicated the waste section, as now that section has to come first, so you can’t read all the information you need from the already-knitted file (which is how the ‘add waste section’ button on the Knitout Visualiser for Kniterate works).
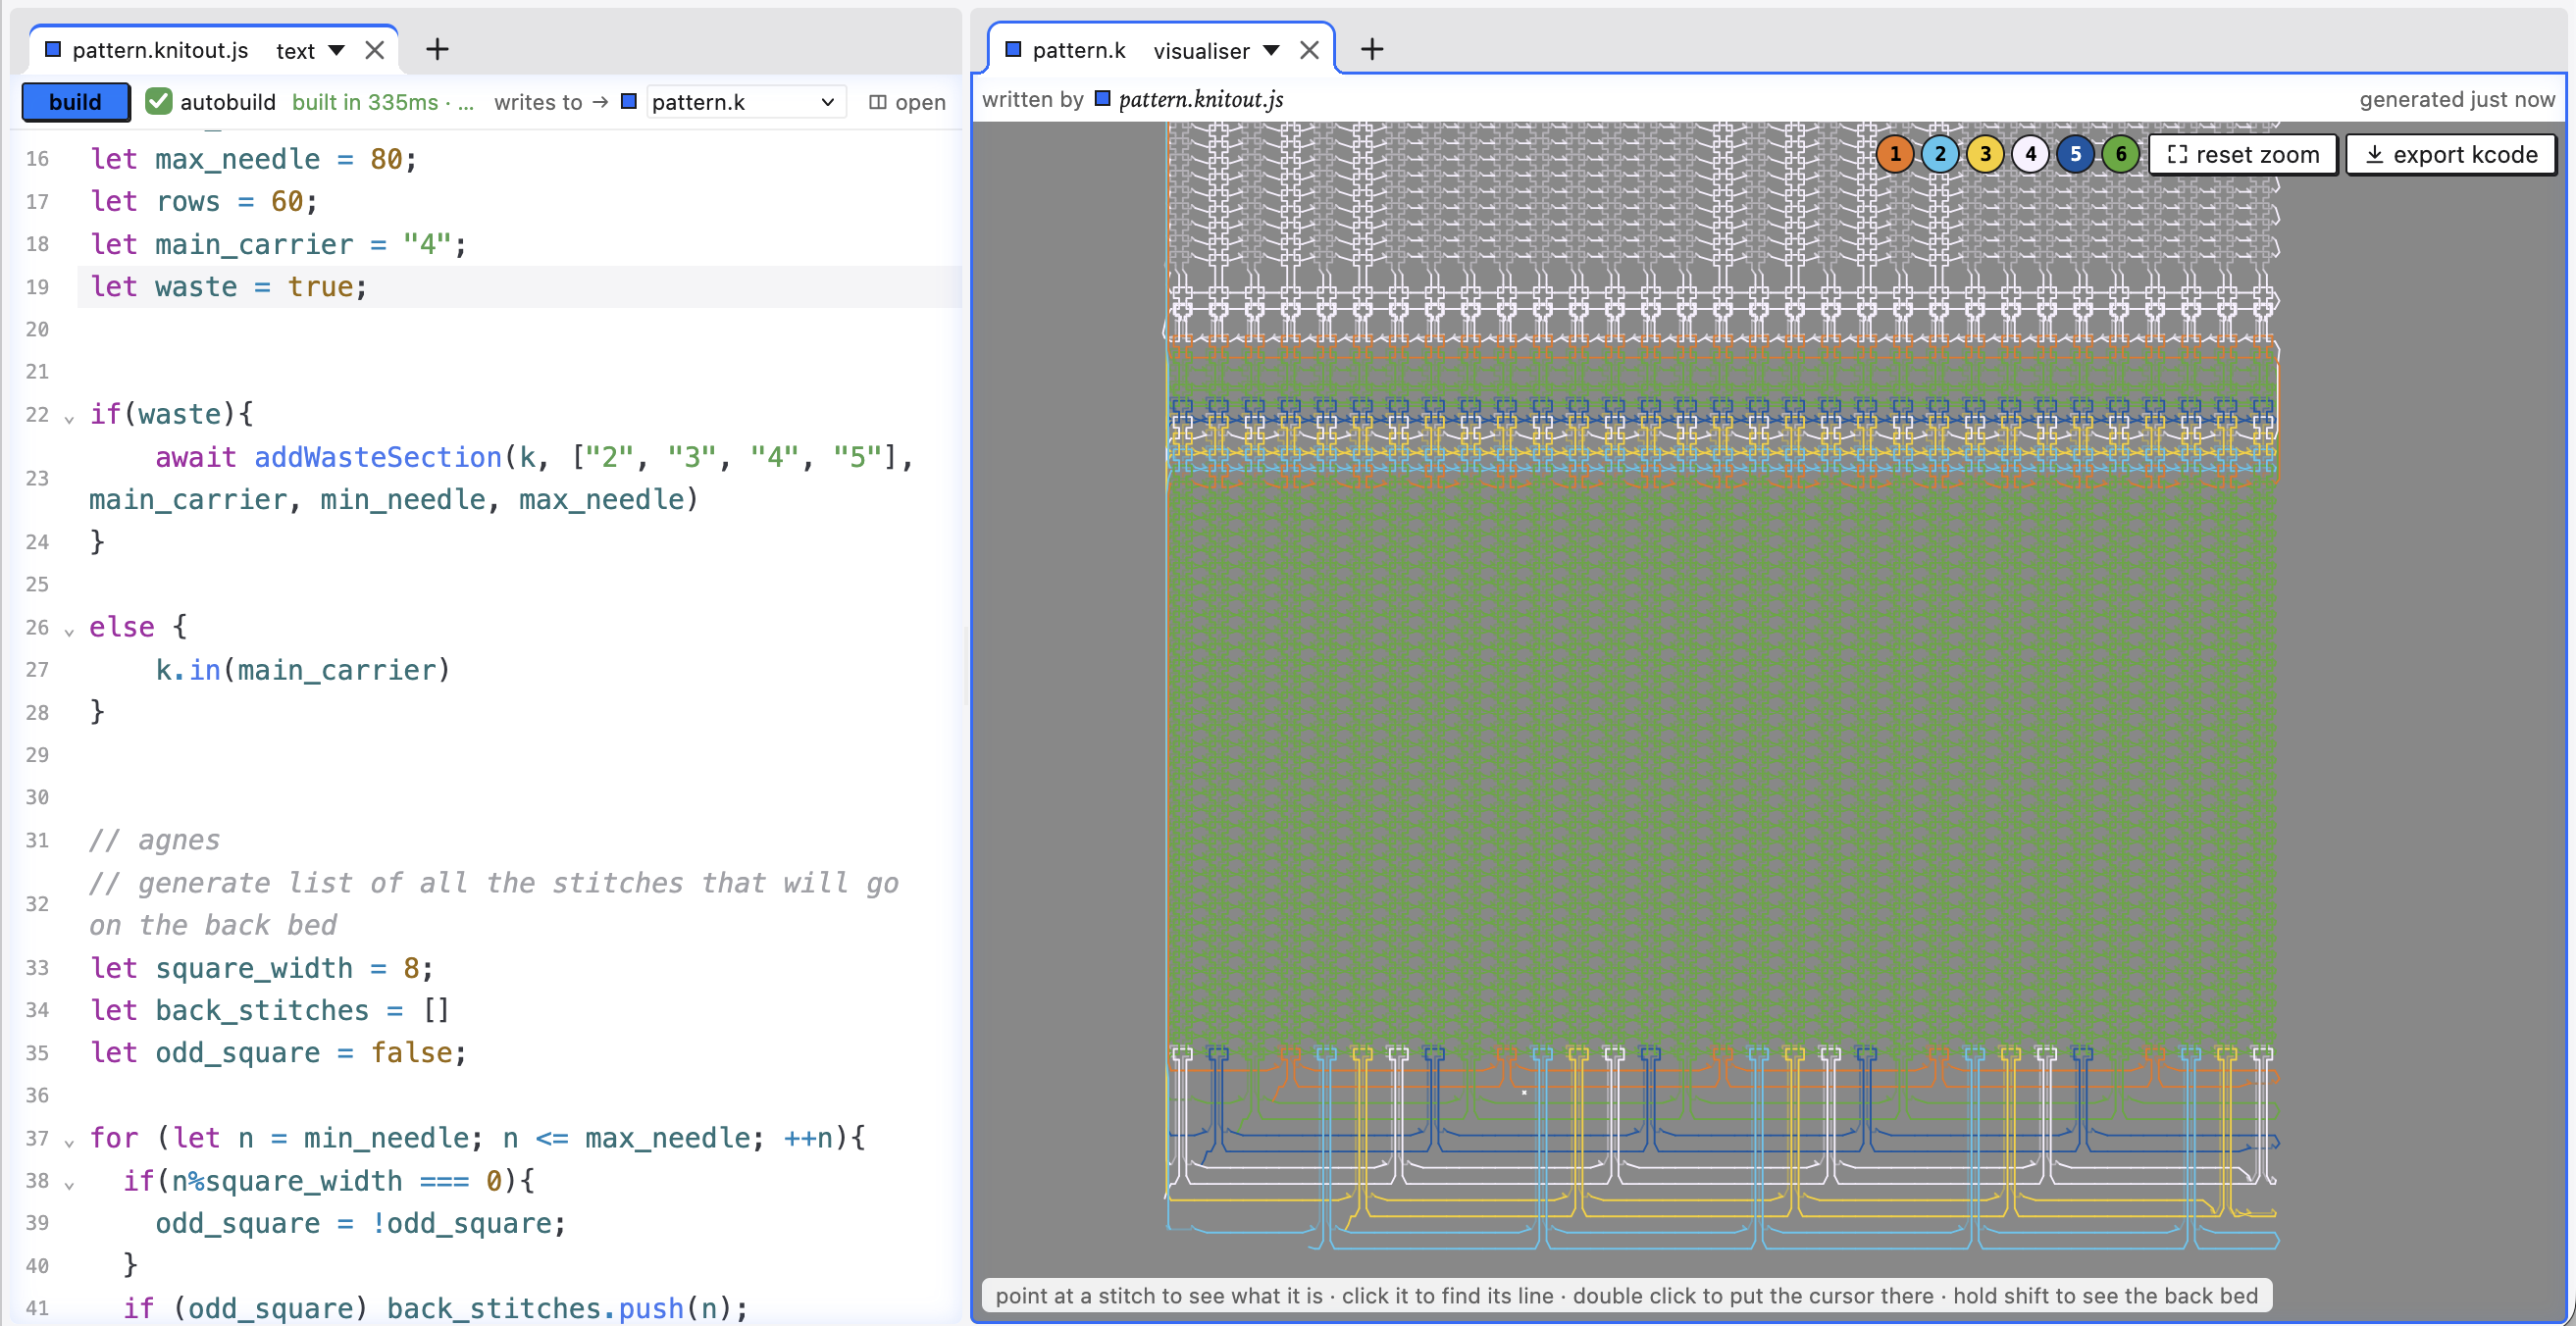 the new waste section in patchwork
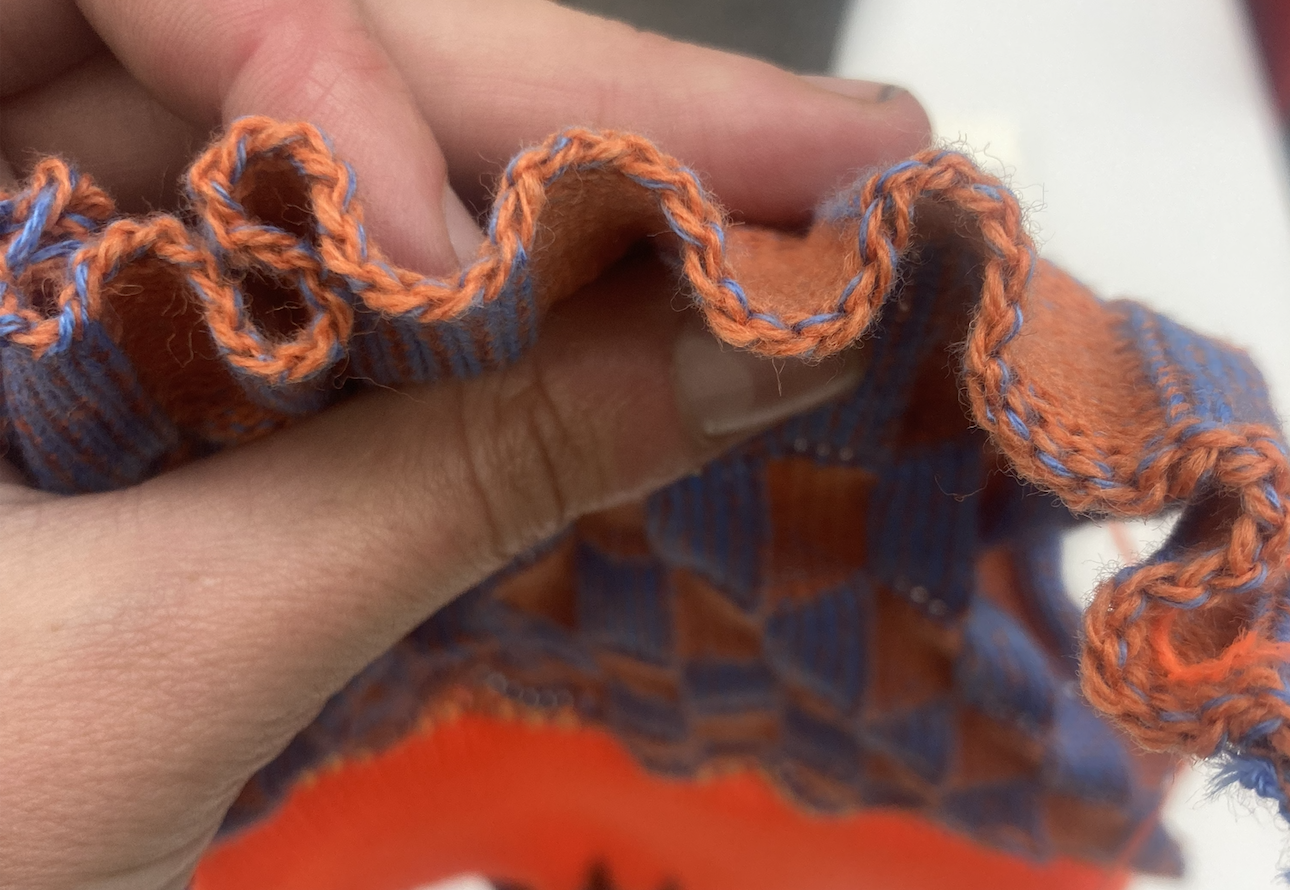 look at that nice bindoff
The way it works now (and this is also liable to change) is that ‘utility’ files (like the waste section, but also the bindoff) that are often reused are included as sepatate JS files, then imported as automerge urls, and called as functions in larger files. Eventually, this will probably end up coming in line with Mimi’s vision of a block-based knit editor, where sections of KnitoutJS (or other Knitout-producing entities) are chained together into a much larger file.
sample library
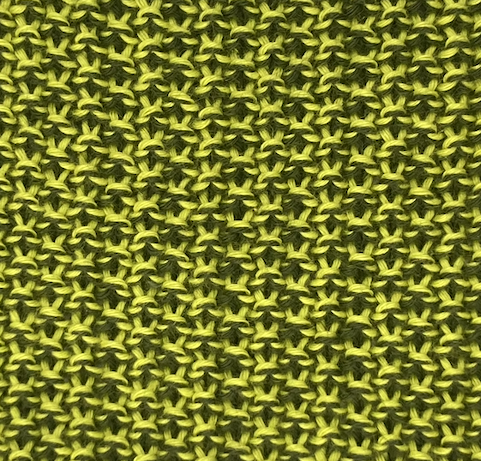
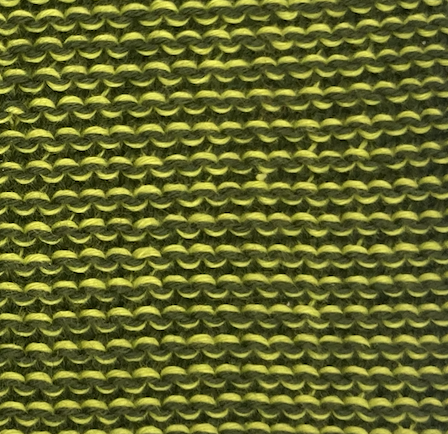
Another big bit of more infrastructural work has been to build up a library of different sample stitches to use in the workshops. It’s invaluable for students to be able to have a piece of knit in their hands while looking at the same piece represented in code.
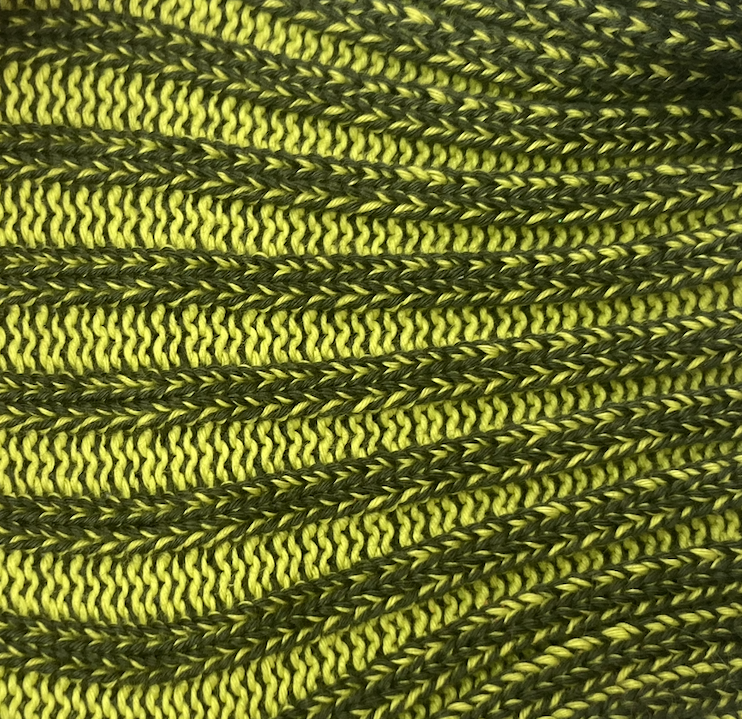
 the tube!
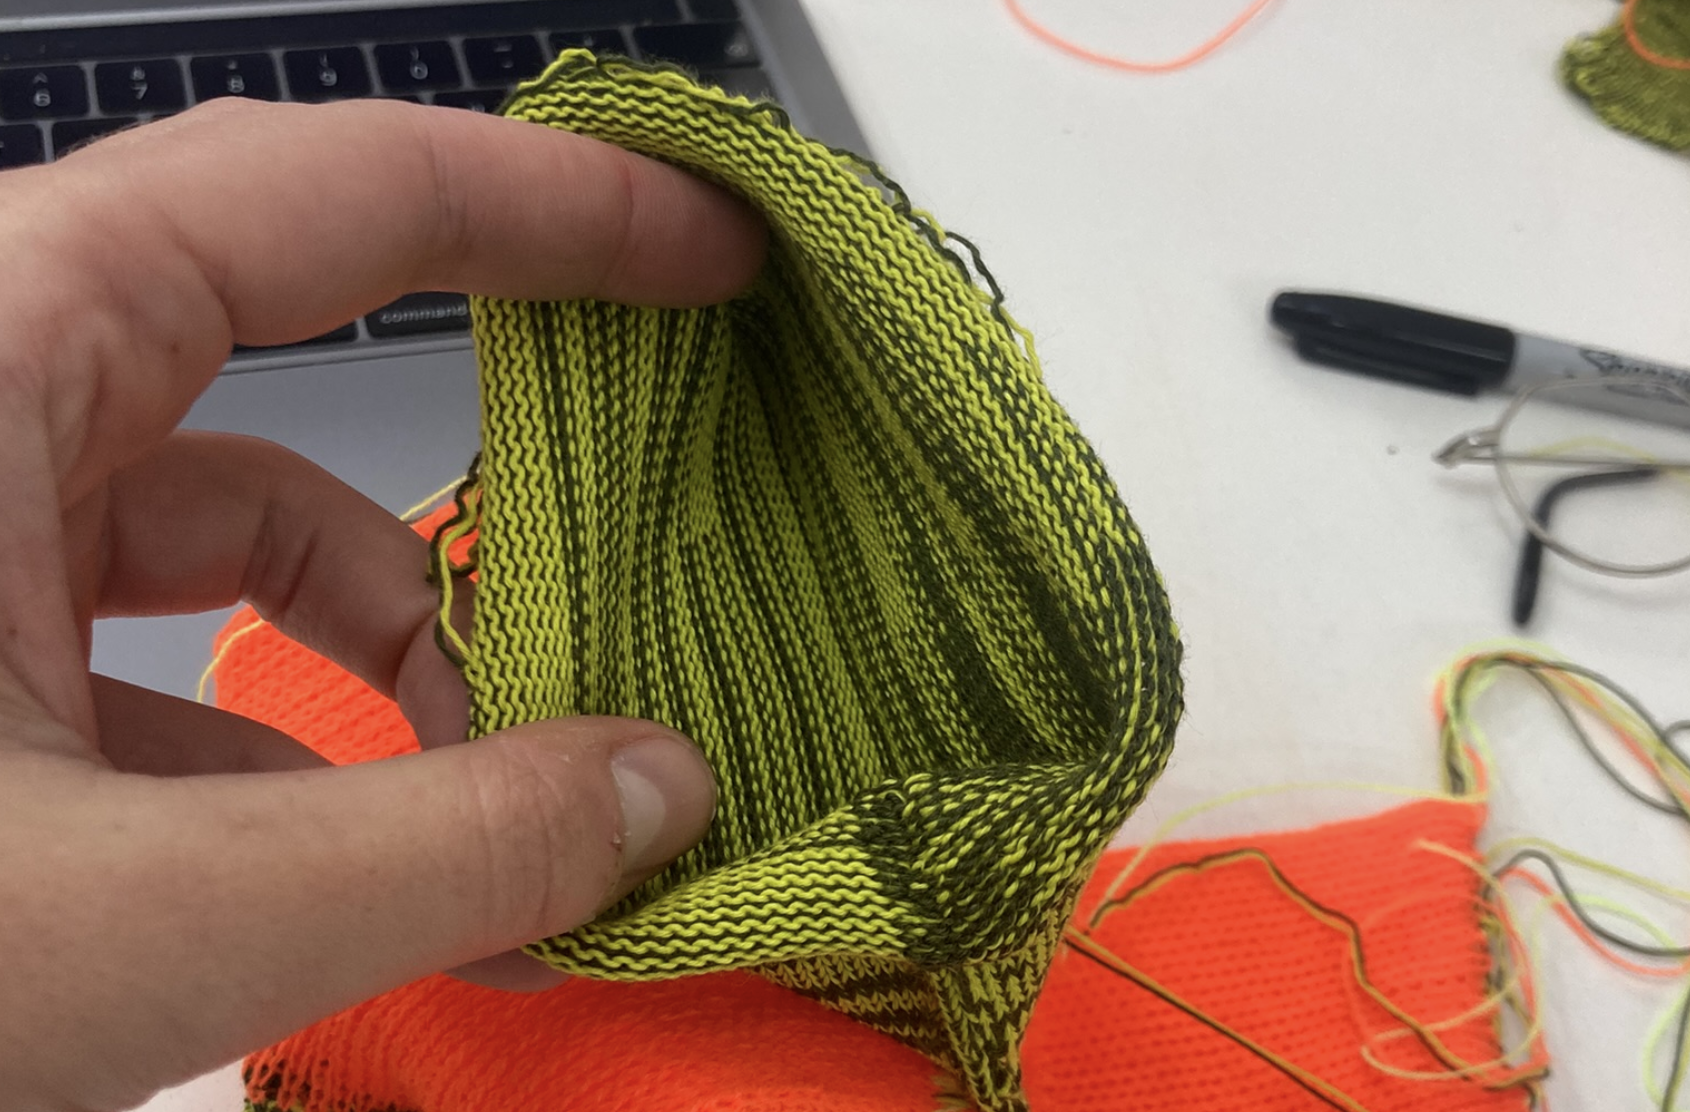
I also embarked on a fairly chaotic attempt to knit a tube, having realised that the basic way a tube is knit is just to alternate knitting rows of front and back beds, essentially knitting ‘in the round’. (I was later informed it’s actually not possible to knit a ‘true tube’ on a kniterate – unless you bind off manually, they always end up closed at either end).
To get the knit onto both beds to start the tube, I tried to use split stitches, which takes a stitch from one bed and splits it between both beds. I tried this on a whole row at once, and it quite categorically didn’t work (and broke a couple of needles in the process)! This forum post had an interesting discussion. My impression is that (at least for the Kniterate) split stitches are more of a subtle one-or two-stitch way of compensating for lace holes, rather than something you do on a row at a time.
After chatting to B, she said that the best way to get stitches onto both beds was just to knit a couple of rows of interlock! Perhaps tube attempt 2 is still on the cards.
workshops
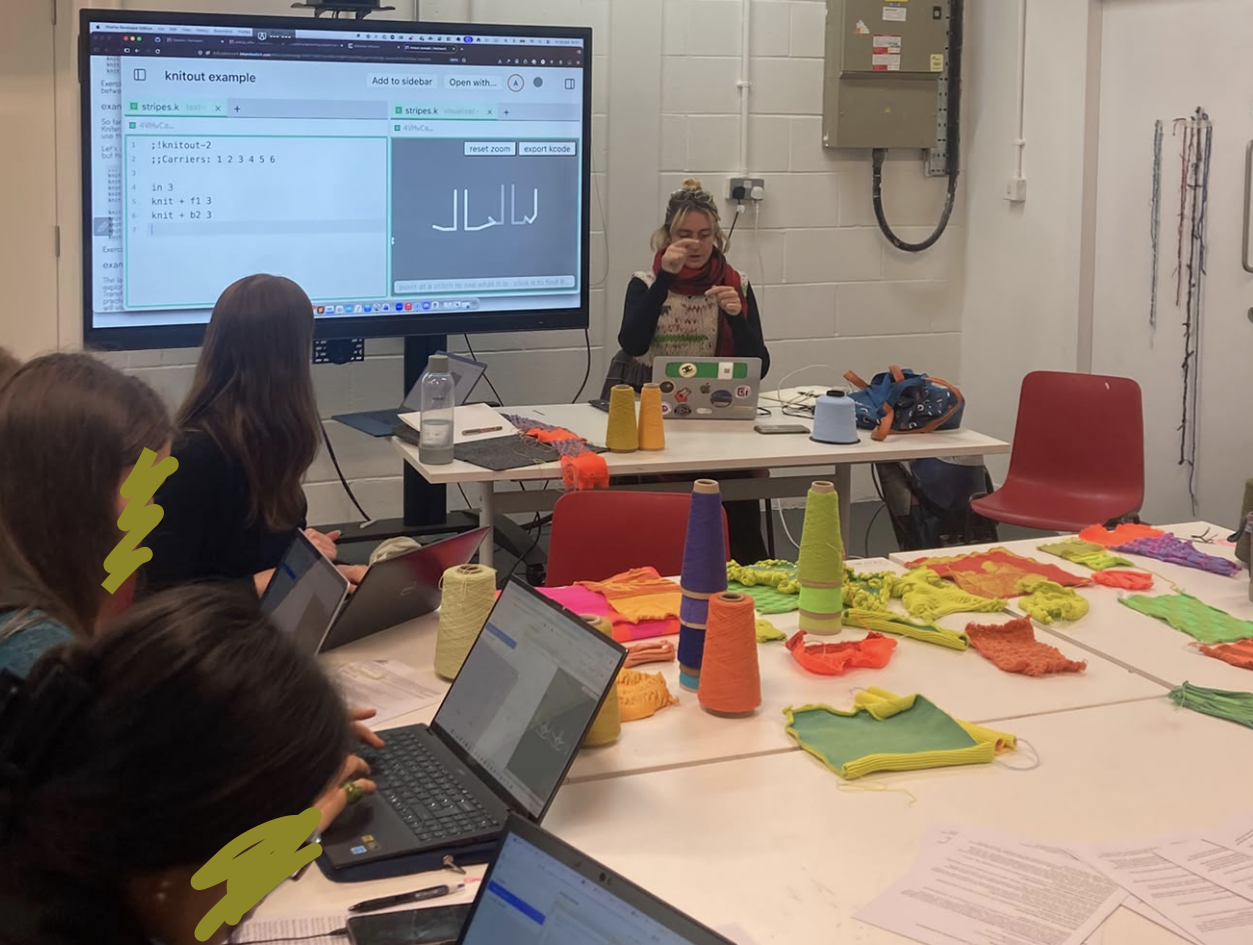 trying to explain ribs in the first workshop
We have had 2 workshops now. So far everyone’s been getting totally rocked by the combination of having to learn Javascript and knitting at the same time. It’s easy to forget how complicated these first steps are. Somewhat reassuringly, at least from my observations I’ve not really seen any students with AI tools open – it seems like everyone’s quite invested in learning stuff.
There’s been a bunch of really nice moments. B and I spend quite a lot of time pretending to be the machine, and encouraging the students to do the same, kind of like the part in Mindstorms, where Seymour Papert recounts telling students to ‘play turtle’. We also have a domestic machine set up, which is really helpful for students’ mental model.
It’s so interesting what things become useful when you’re teaching. Possibly the biggest quality of life update, requested to Chee as an aside, is the ability to separately enlarge text in different editors, so I can make it large enough to show the students something without making all the website icons massive. This alone makes Patchwork one of the best programming teaching tools I have ever used.
20 people in a patchwork document at the same time!
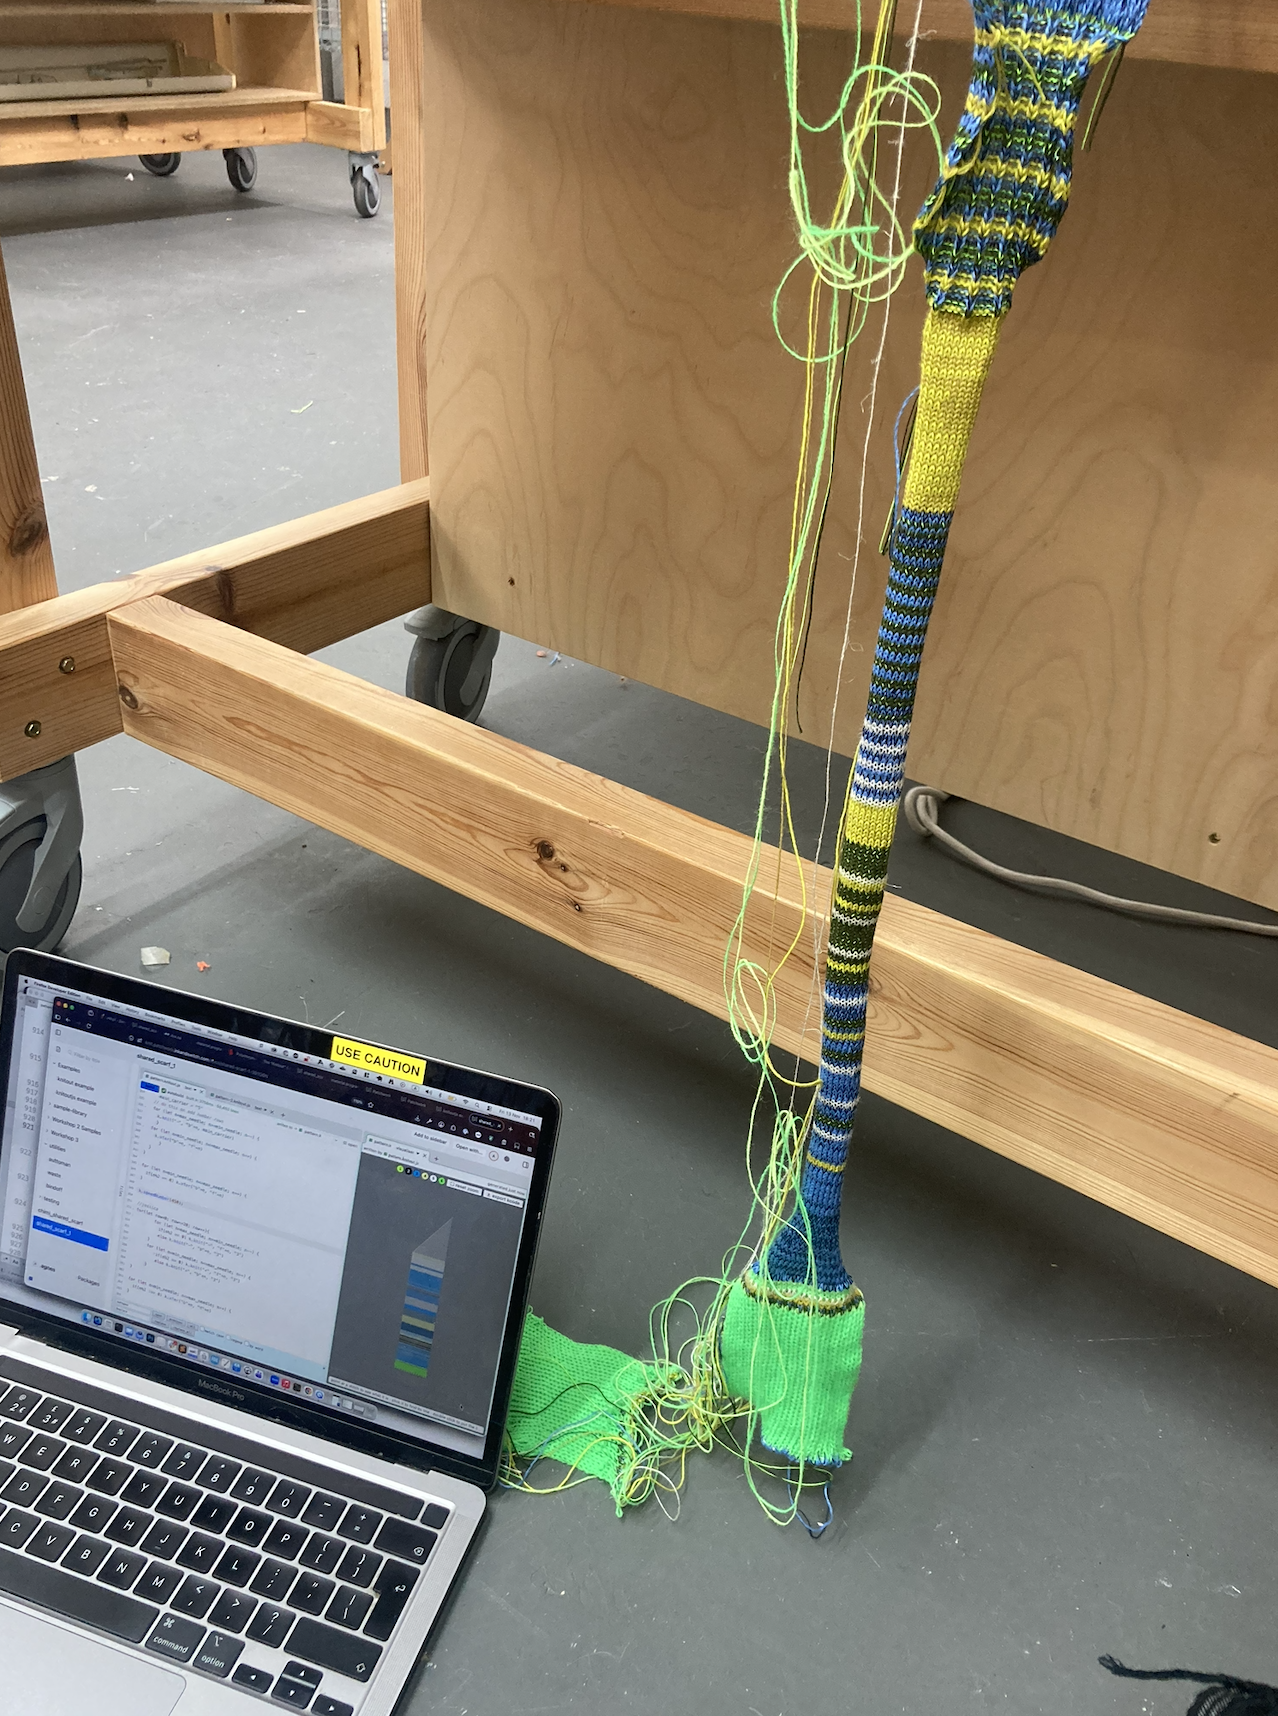
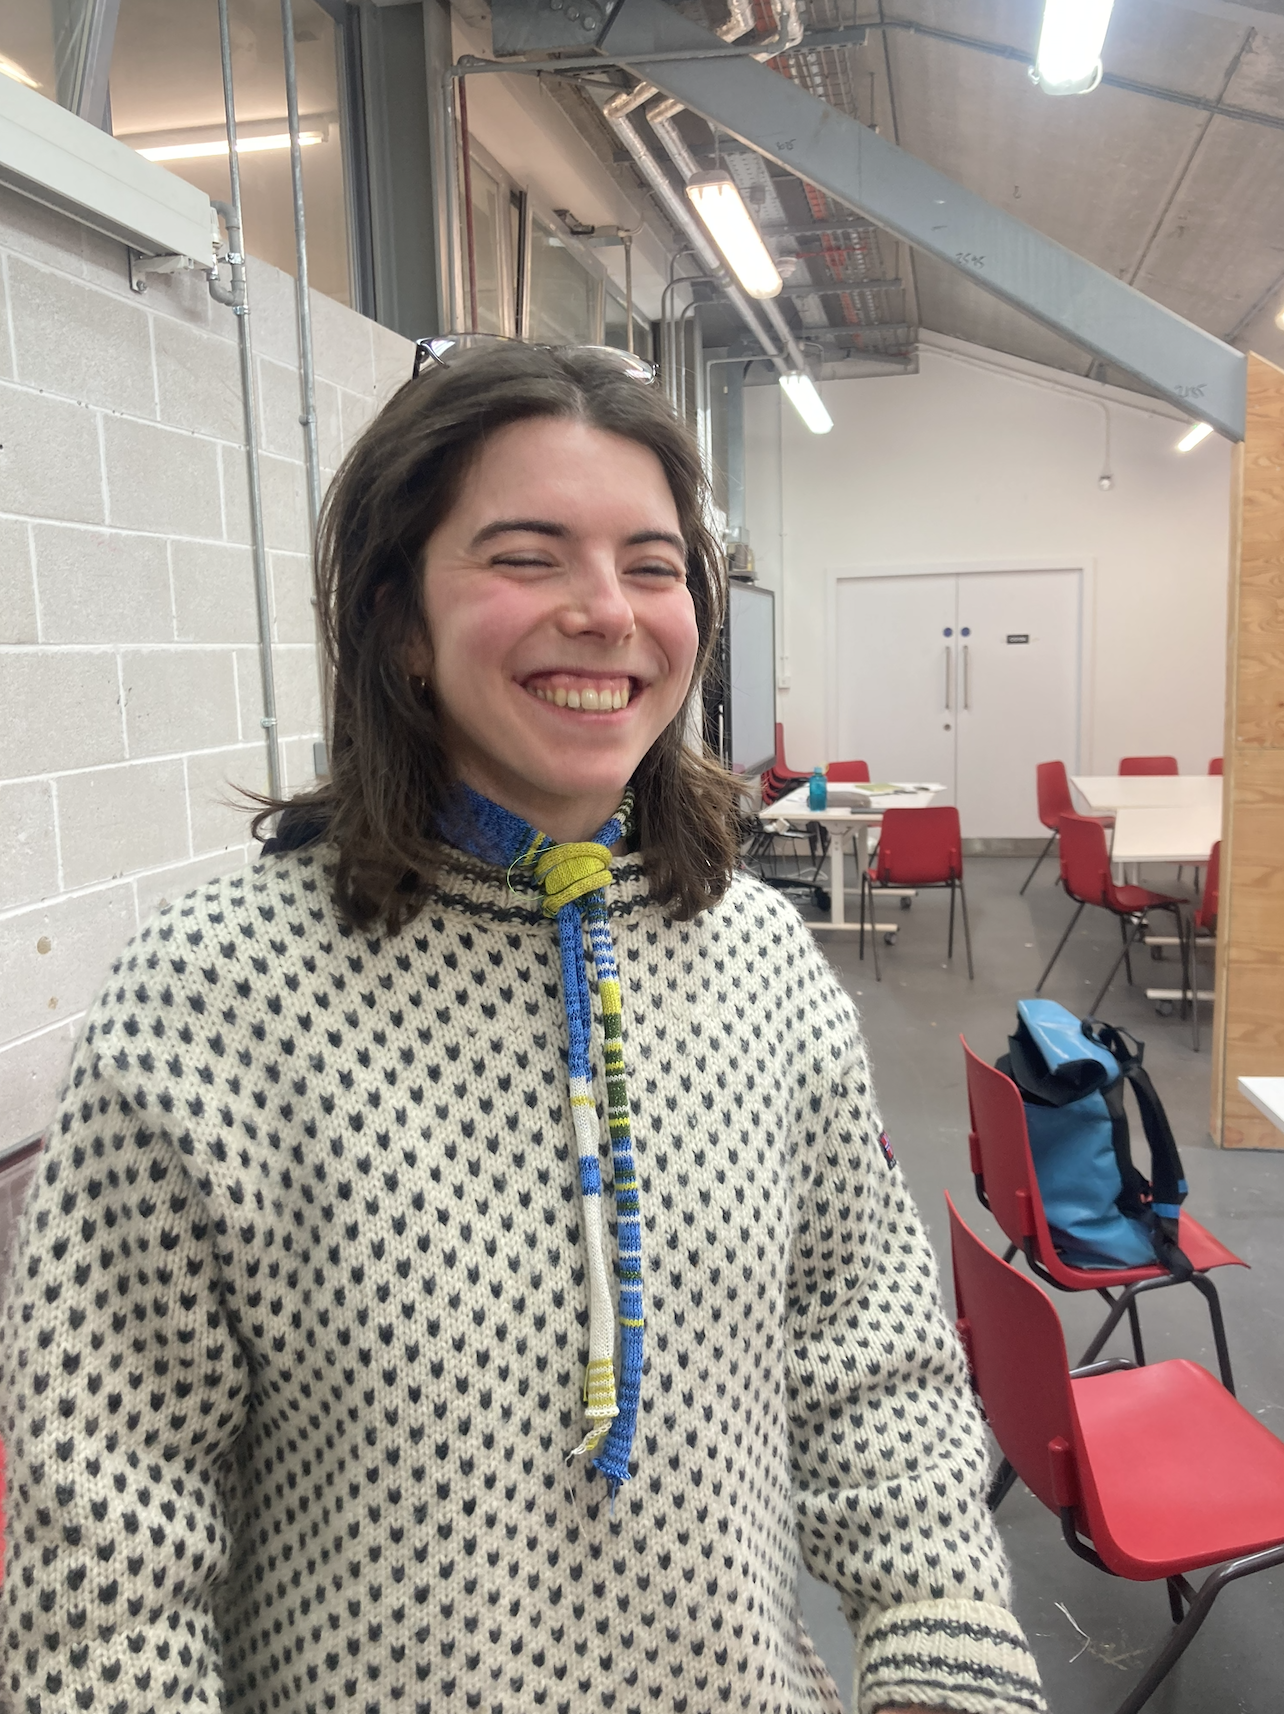
At the end of the second workshop, we got everyone to make a scarf together in the same Patchwork document, by pasting in samples they’d made in a different editor and trying to string them together. This was total chaos and pretty overwhelming, but also really really fun.
After a considerable amount of tidying up, we managed to resolve all the errors and knit out a beautiful (albeit narrow) little scarf. An interesting learning from the tidying process: consistently one of the biggest problems (second only to re-declaring variables) was just getting all the carriers into the right place for each new sample.
We’ve talked about doing another version of this for the third workshop that’s closer to a realisation of the block-based knit diagram. When I think about this now, I think each block needs some standard information about:
- what carriers there are
- where do they start (in the block)
- where do they end up
- which beds does each stitch start and end up
Once you know these things, you can write a neat little script to link stuff together.
blobber
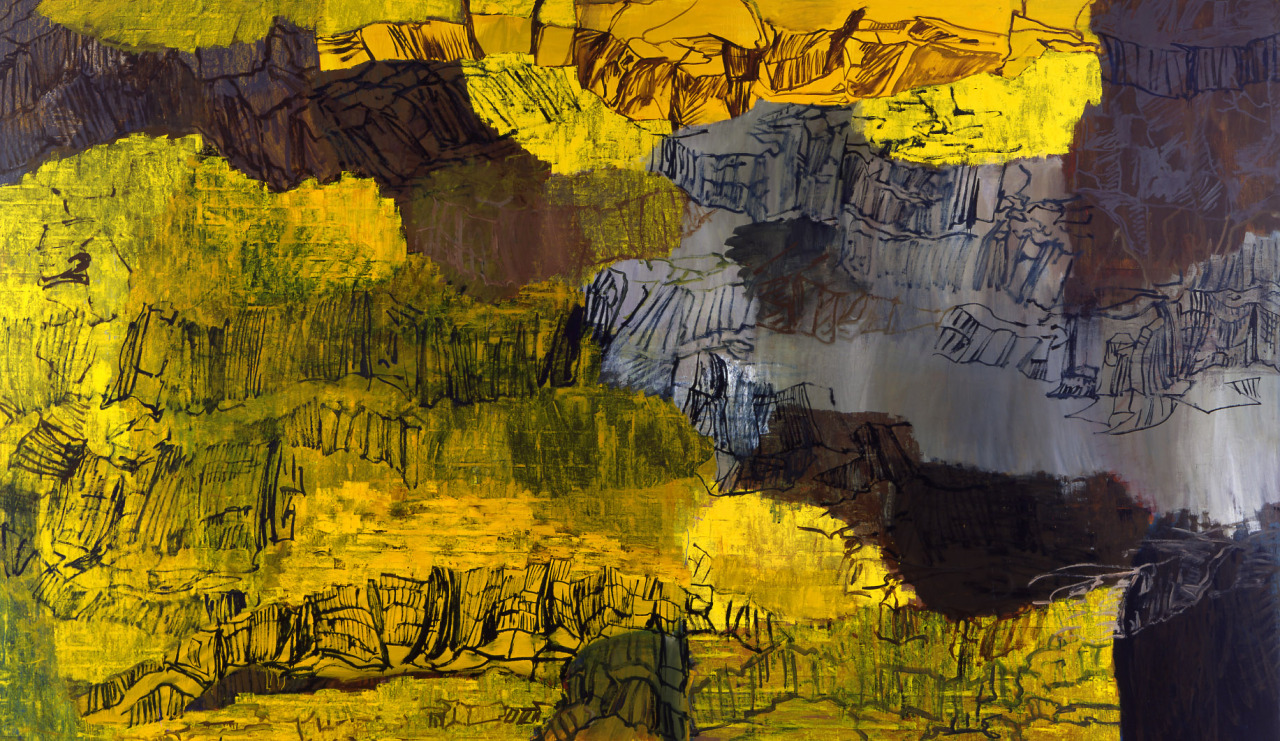 the Per Kirkeby painting Vermisst die Welt (Missing the World), 1997
On the subject of neat little scripts, today I made a small tool called blobber today and I’m really happy about it.
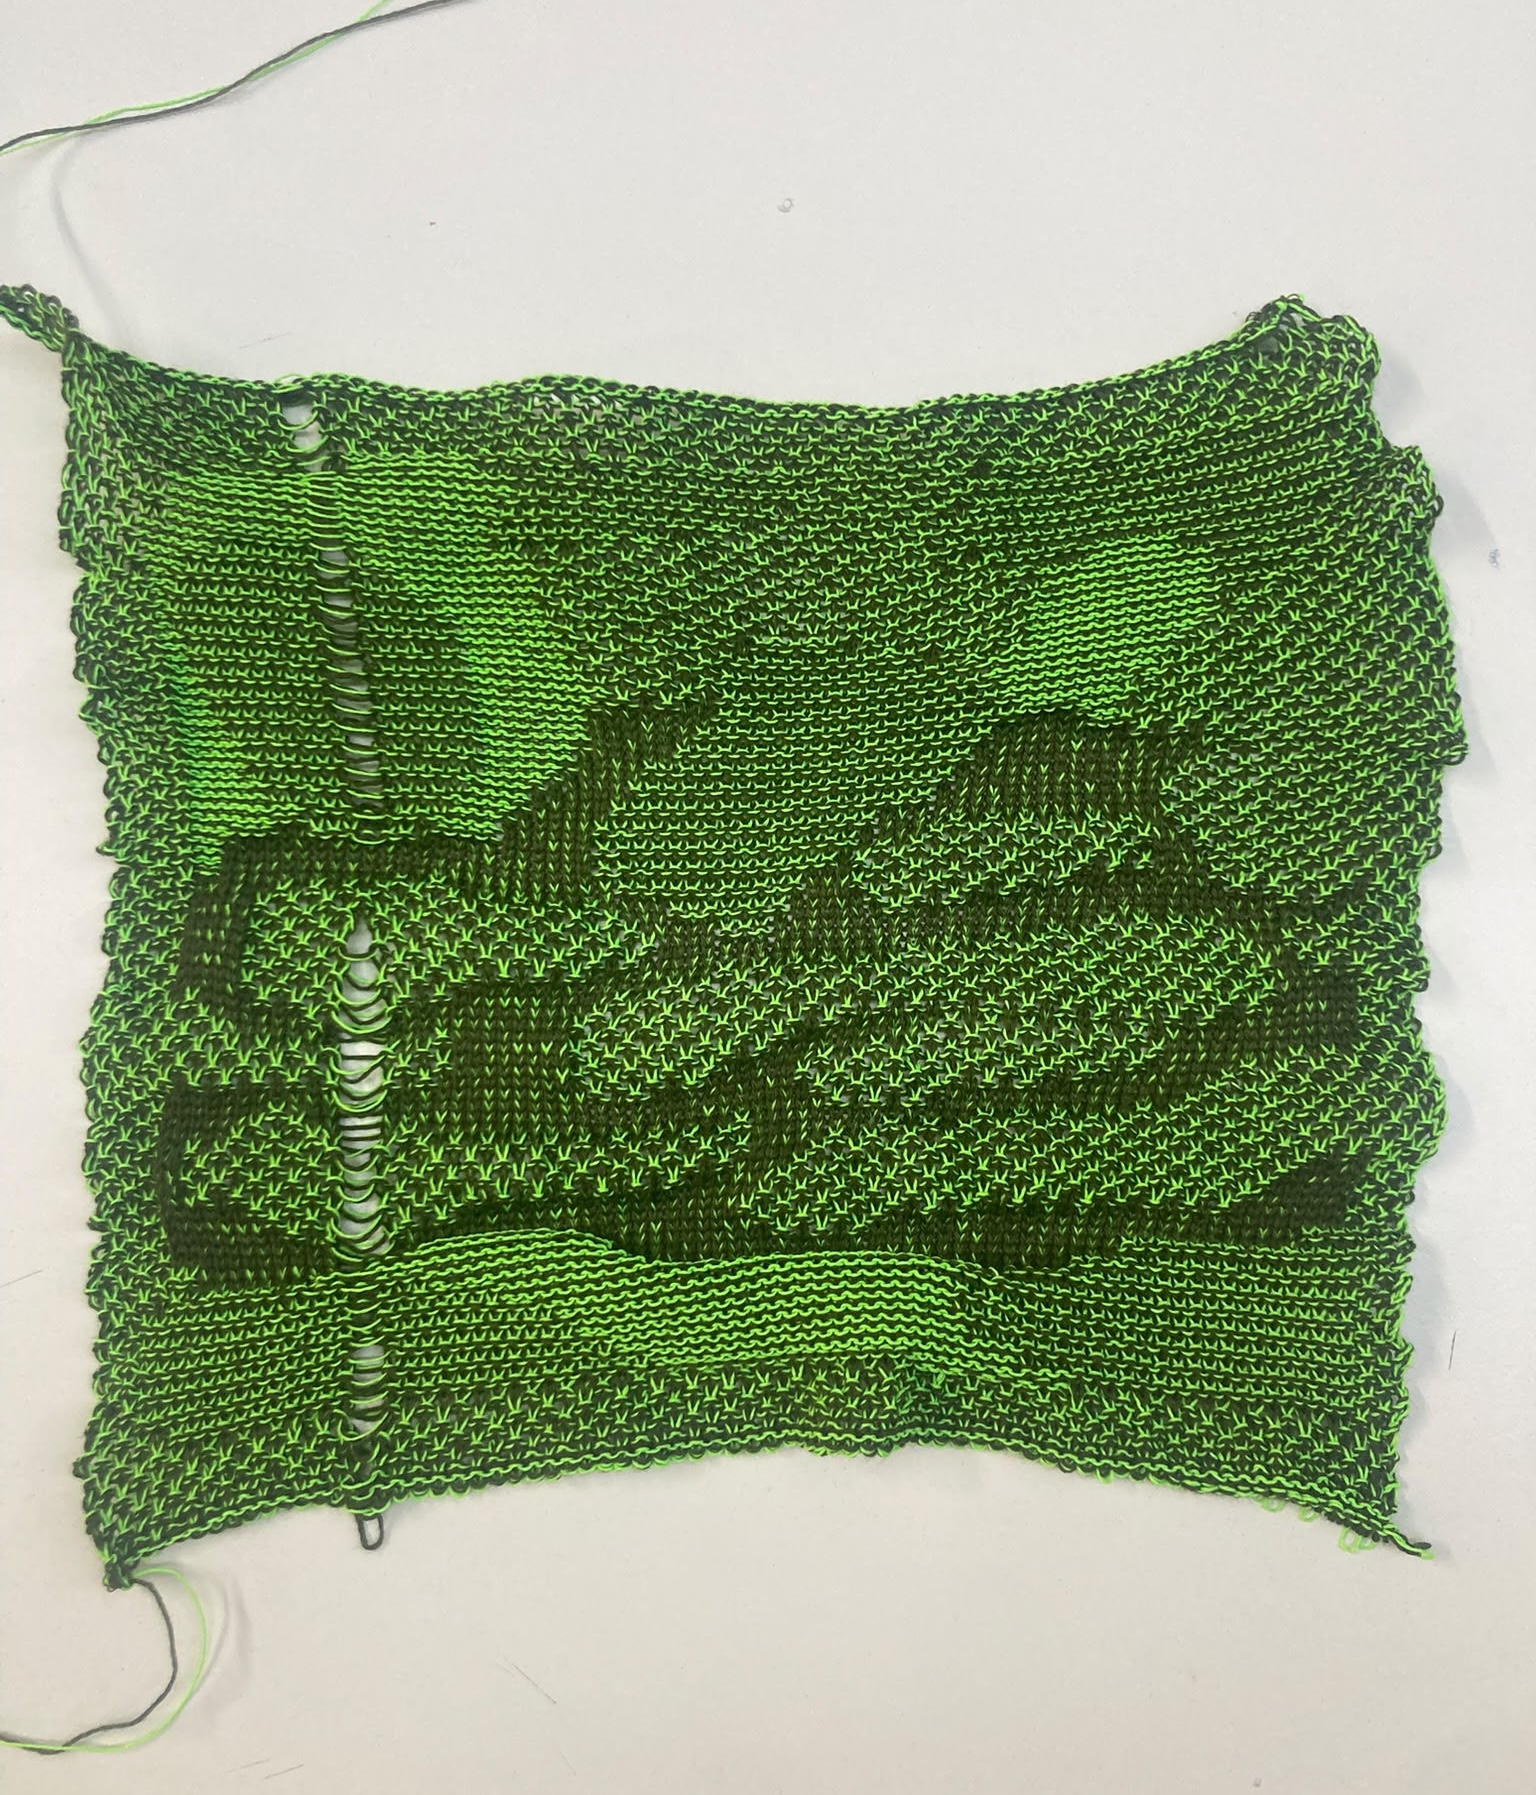
This is for a few reasons. The main one is that I had the idea for this tool in the morning when Kat and I were having coffee, I sort of worked out how I’d make it in my head as I was cycling to Chelsea, then I had to track down the workshop keys and gossiped with Claire and Kirsty for about 40min. After that, I sat down and made the tool and knit out a sample. From start to finish, this took about 4 hours. It was really pleasurable. This is malleable software.
 Seed Drawing 2, 2010, by Clement Valla
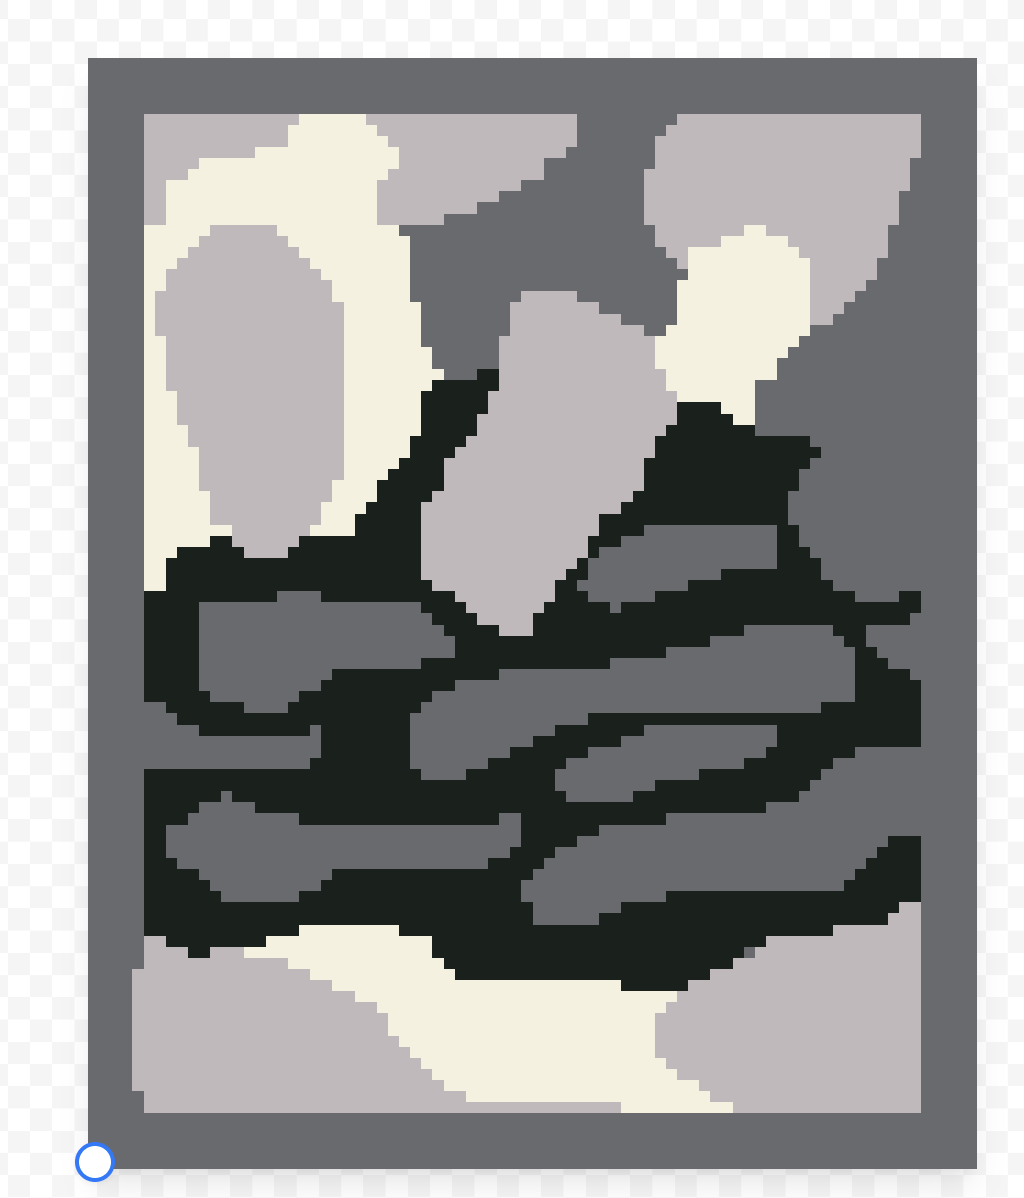
The basic idea of blobber is to use colours in Patternwitch to ‘paint’ different stitch textures that, when combined with plating, produce a kind of gradient colour palette. The above sample uses front and back bed stitches to be the lightest and darkest sections, and then garter and seed stitches to make the lighter and darker grey sections respectively. When I was picturing it in my head in the morning, I was thinking about Per Kirkeby paintings, and how he uses these large expressive textural blobs in different shades of green and brown to describe a landscape. When I drew out some blobs in Patternwitch, I had some of his paintings open in the browser next to it.
The second reason that I’m happy with blobber is that later in the day Chee said that after the call with Hannah (where she’d shown us a lot of really interesting experimental knit design tools), she wanted to work on a version of Patternwitch that lets you paint different stitches, and I realised I’d sort of semi made it without thinking about it in those terms (and just by wanting to be interested in textures).
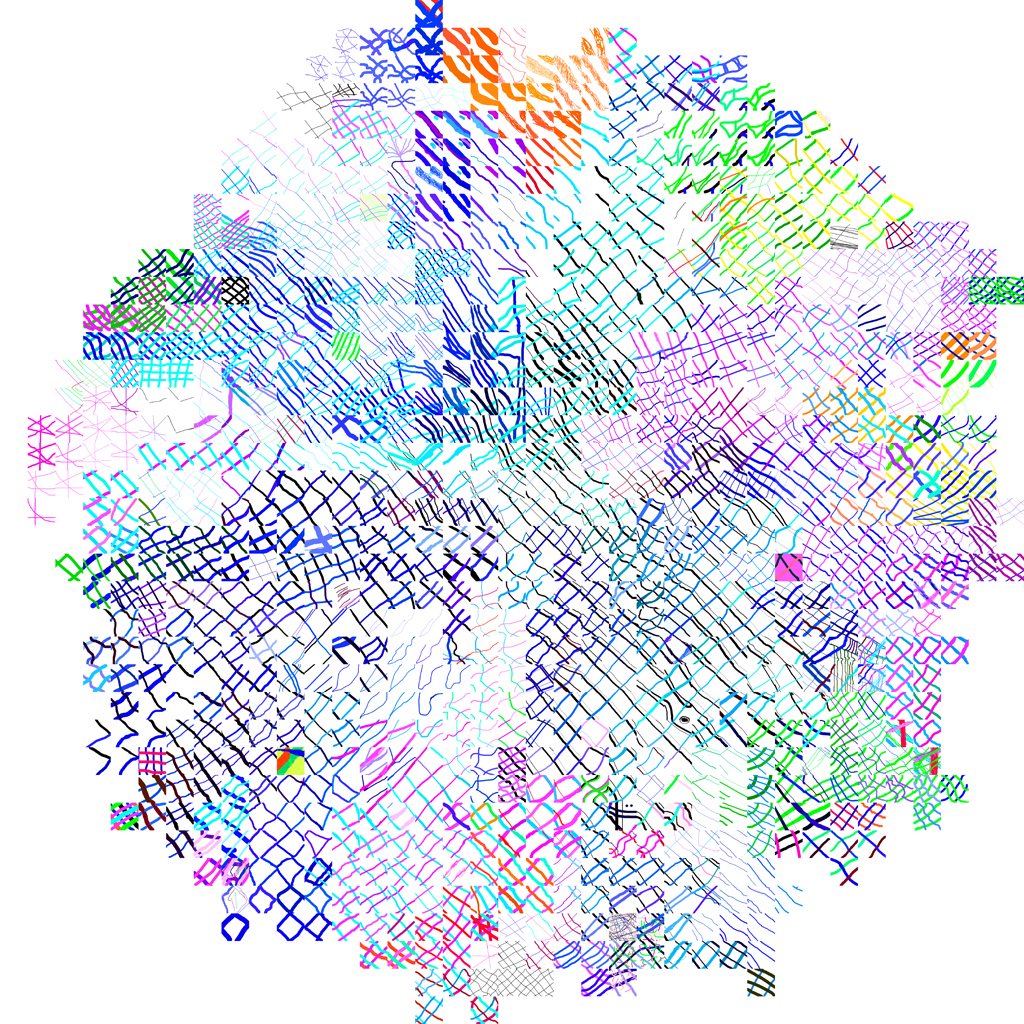
On the train later in the afternoon, I realised that the sample reminded me of some images from an are.na channel I really like maintained by the artist Clement Valla, called Point Cloud and Pixel Landscapes. When I went to his website, I found some really good and inspiring images, and also an essay on what he calls ‘jig thinking’, about using creative tools to experiment with repeatable moves. There’s a nice poetry and completeness to this, so I’ll end by saying that I feel blessed today by blobber and by new ways to think about computers.